Showing posts with label vegetable garden. Show all posts

Sunday, March 21, 2021

Building a New Raised Bed


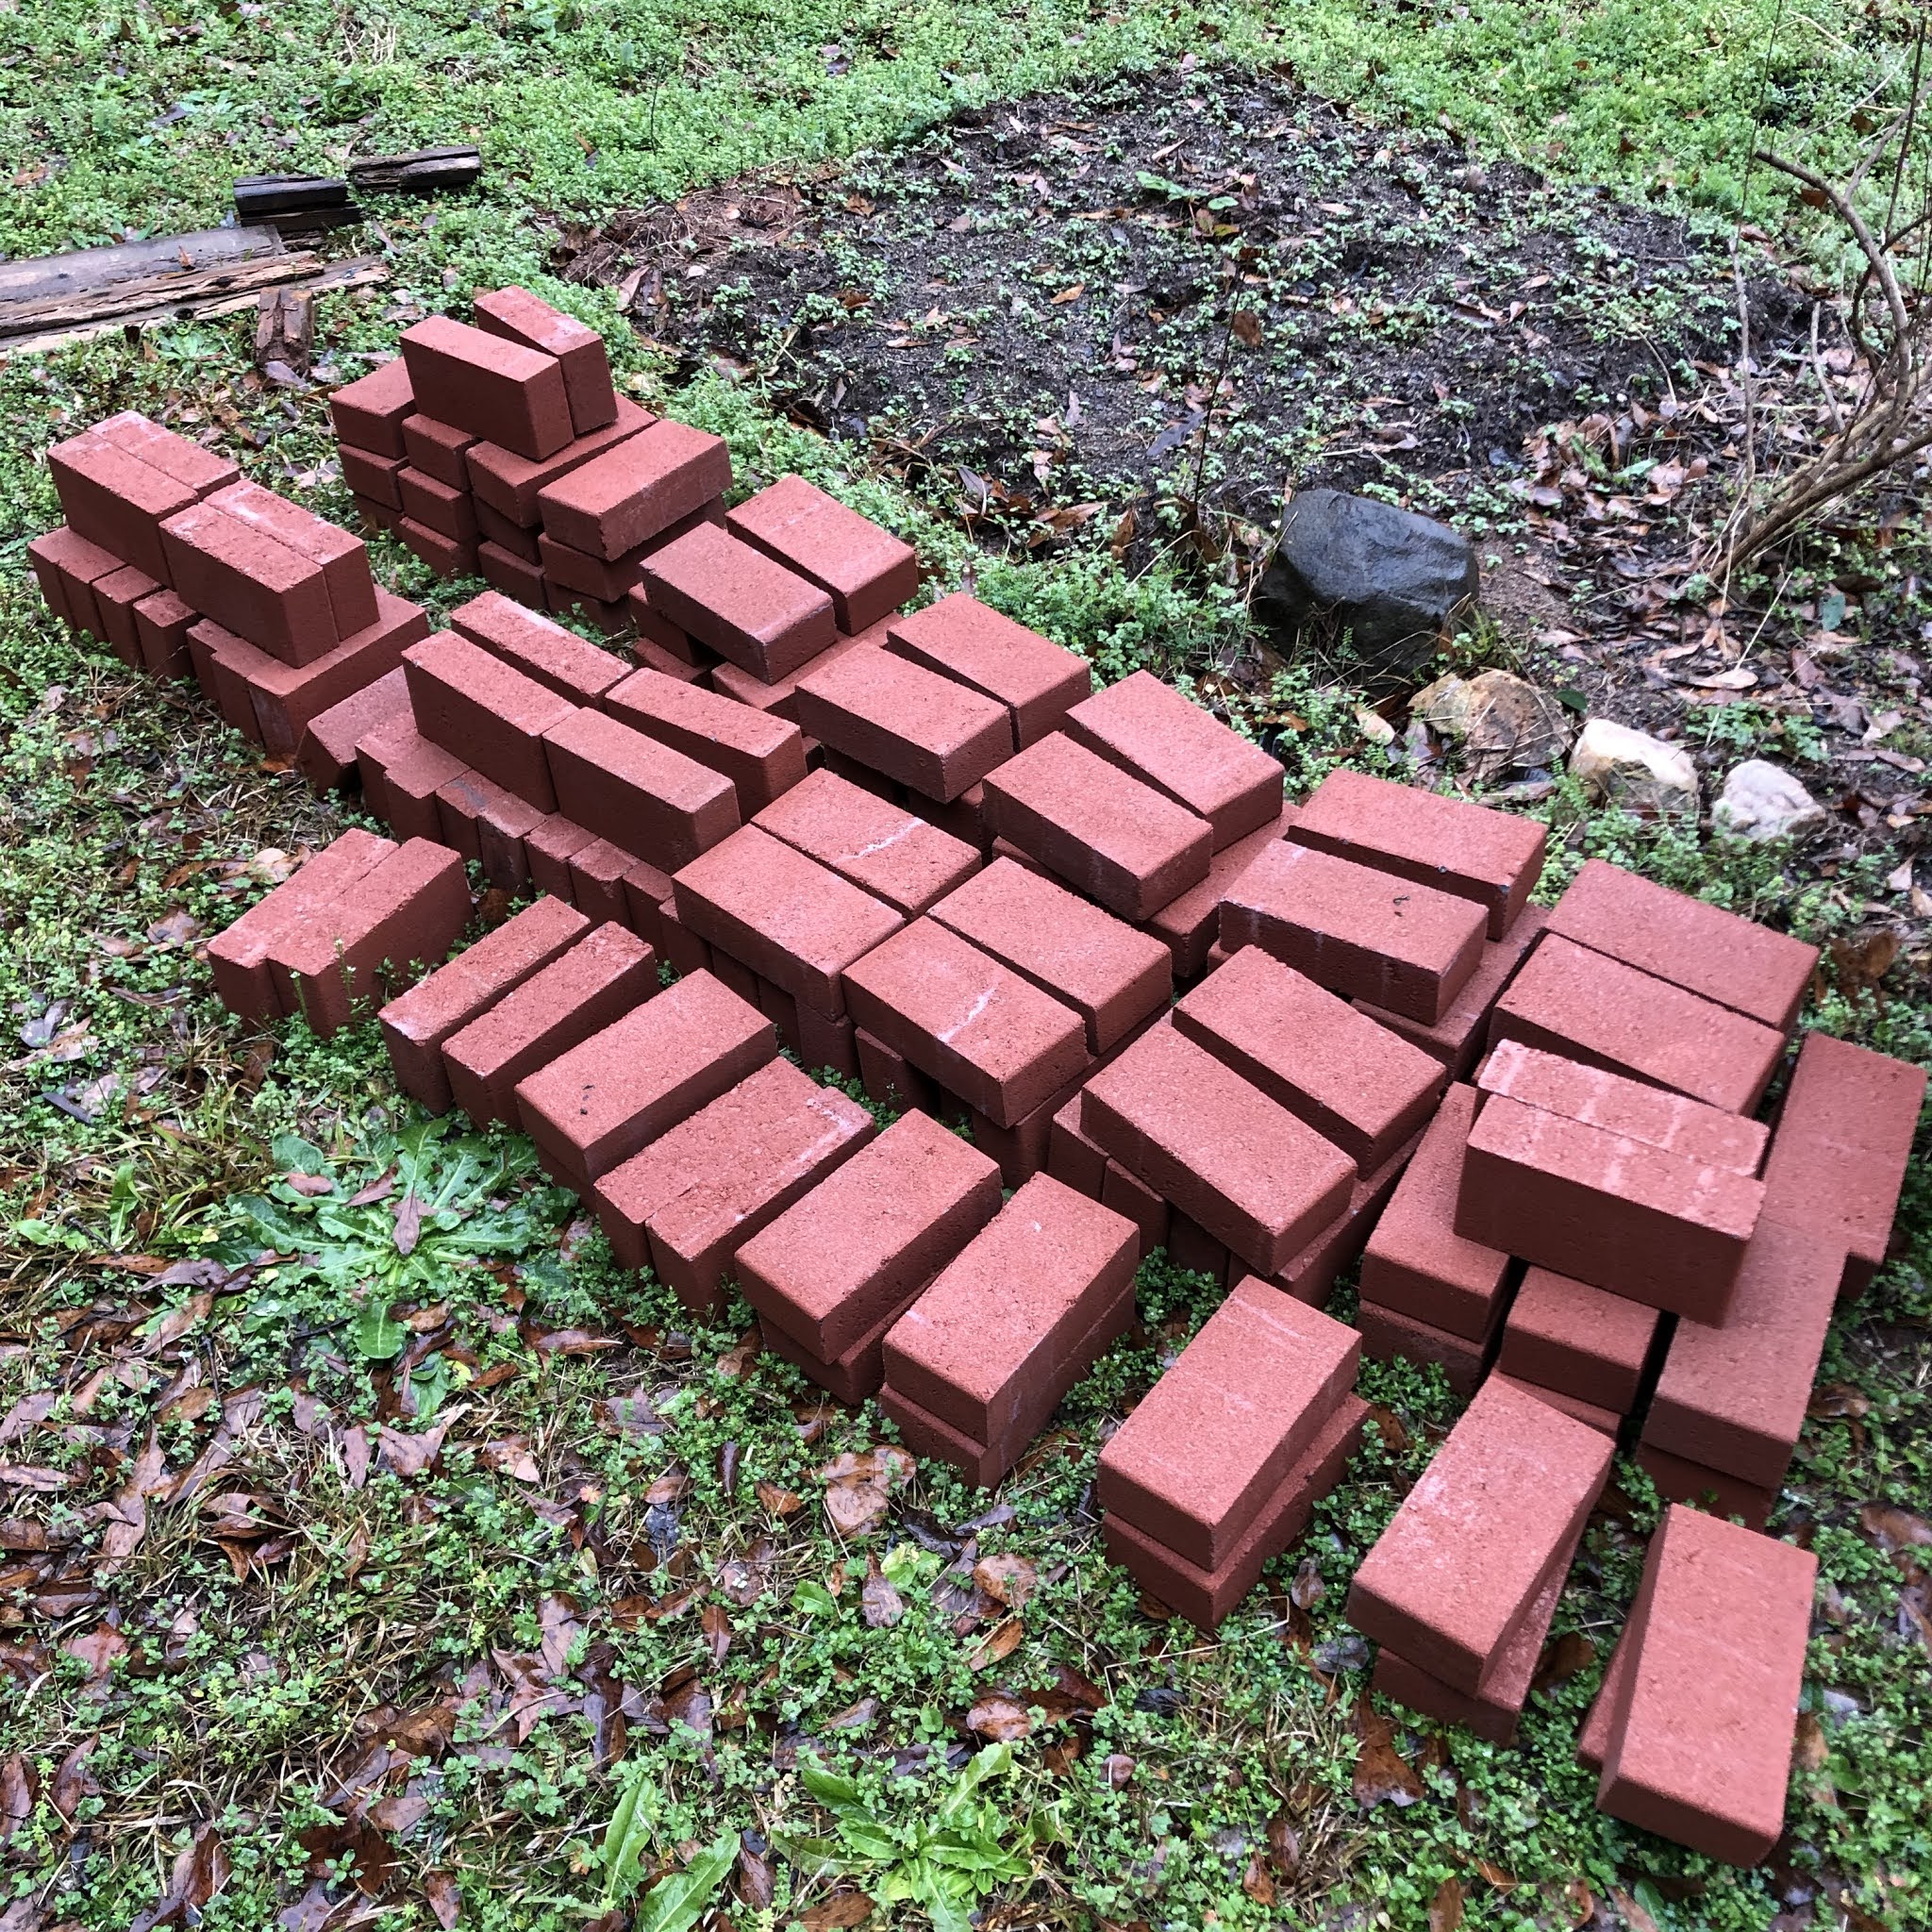
 As I mentioned in my last post, a little over a month ago I came home from the hardware store with 112 bricks and good intentions. My original wood beds have long since decayed into a poor semblance of a border, and my husband really wanted to replace them with long-lasting brick beds instead of wood that rots in a few years.

My husband and I are not huge DIYers. After a little research on Pinterest, I decided a loose brick bed was a good compromise. Even if my husband wanted to learn how to lay mortar, loose brick was less permanent and easier to throw together without any experience. If I didn't love how it came out, we could always take it apart.

Also, what I got from Home Depot wasn't actually brick. Technically it's just cement blocks dyed a reddish color. It's what was easily available to experiment. If I decide we have a future as bricklayers, I can always hunt down real brick later and redo the beds.

As if building with brick for the first time wasn't hard enough, I decided to make it more complicated by trying to line my new brick bed with an underground fence to keep voles out. I really didn't want voles killing most of the plants in my new raised bed like they did last year. The internet says voles won't dig deeper than a foot, so I got hardware cloth and cut it to the appropriate width.

If you want to build a loose brick raised bed, there are definitely easier ways to do it than how I did it! Needless to say, even with consistently nice weather, it took a few weekends to complete. First we had to build a trench at least a foot deep around the existing bed. Since I had gone through the trouble of filling my bed with the perfect mix of sand, compost and top soil originally, I wanted to keep that intact as much as possible.


Then, I had to try to snip pieces of hardware cloth with wire cutters into sides for my "fence," and attempt to flatten out wire that had lived its life rolled up in a circle. After flattening it more or less, I used the wire that wrapped up the roll originally, cut it into small pieces, and used the pieces to attach the sides securely together. That also took a while...

I tried to make calculations and take measurements and dig in the right spots, but let's just say that in the end I did not get a perfect square fence to go inside my brick walls. We made it fit, though.

I actually made my hardware cloth 15" in height, tried to get it evenly 12" deep all around, and then left a few inches above the trench that would go inside the brick walls of my new raised bed. I wanted to leave a little overlap so little voles couldn't, say, burrow between the hardware cloth and the brick. I didn't want it so high, though, that the hardware cloth would stick up and scratch me every time I pulled weeds.

After it was satisfactorily in place, we filled the trench in most of the way, while still leaving a trench 3" deep all around. Now it was time to actually start on creating a brick raised bed. We filled the shallow trench with builder's sand (it took about 3 50 lb bags). Then, I put the leftover rotted boards of the old border to use. I laid one down on top of the sand. I laid a level on the board to make sure my sand was more or less level (especially since we're building on a slight hill) and adjusted by hand as needed. Then, I used a small mallet to compact it down. I don't know if my system was perfect, but it was cheap.

Finally, we started laying the bricks out on the sand. This is where we learned our square wasn't perfect. On two sides the bricks had to be placed tightly against each other, and on the other two the bricks had to be spaced slightly, one more than the other. That was the only way the bricks would fit around the hardware cloth. This annoyed me at first, but in the end I decided it was probably close enough. At least we're not building a house here.

After putting down the first layer, I went around again with the board and the mallet, tamping the bricks into the sand. Finally, I stacked the rest of the bricks, staggering them as I went. This was the easiest part of the whole thing. 

I did not pull the level back out after that, it would just make me crazy. I actually sat on my little brick wall to finish pulling the rest of the weeds out of my bed. The bricks shift a little, but it holds, which isn't bad for a cheap, easy project. I just have to fix the bricks periodically. If I had young children, I wouldn't want to leave the bricks loose, they would just get knocked around all the time. If I still like it next year, I might try taking it apart and putting it back together with construction adhesive like my friend suggested.

I also planted potatoes this weekend! They were such a success last year, I couldn't wait to plant them again this year. I cut up some pieces last weekend with the intent to plant them in the grow bag and ran out of time. I hope they're not too worse off by sitting out for a week. Half of them went in the grow bag. The other half I ended up planting in my newly vole-proofed raised bed. I added a bag of composted manure to my bed after I finished the wall and mixed it in. It was just the right depth to start the potatoes. As the potatoes sprout and grow, I'll finish filling the bed with more compost and soil mix. 

It definitely looks like spring these days. (Yesterday was the first official day of spring, after all!) The seeds I planted indoors last month are looking really good. Well, except for the basil--I need to try again now that it's warmer. The spring flowers are emerging in my garden, too.


I planted this phlox several years ago so it would bloom pink during cherry blossom season.

My blueberries are getting pollinated!

Our cherry blossom tree bloomed right on time this year.

Sunday, June 14, 2020

Harvesting Potatoes, Part 2

Last weekend I harvested potatoes from my grow bag, but this week I dug into the potatoes planted in the ground.

I planted them a week later than the ones in the bag, so I figured they would need another week to mature. I didn't wait quite a week--I ended up digging into them when I got home from work Friday evening.

Like the first ones I planted, the plants in the ground had started to yellow a few weeks ago. By the time I dug them up, some of the stalks were completely dead.

I figured out several weeks ago that I had a vole problem. I had seen a few tunnels and holes in my yard for many years, but I never bothered to figure out what they were because they didn't seem to bother my plants. Until now. Back in April, I saw a hole emerge where I had planted my beans, followed by some seeds not sprouting at all, and others being eaten from underground after they got a few inches tall. I've never seen the voles, but with enough Googling, all signs pointed to voles.

So what does this have to do with my potatoes? While I was researching voles, I learned that voles ALSO love to eat root crops like potatoes and carrots. Since then, I have been so nervous about my potatoes in the ground. Would they survive the voles?

Well, the good news is, more than half of my potatoes were untouched by the voles! (What can I say, I'm a glass-half-full kinda girl.)

I carefully dug into my potato trench with a gloved hand and began feeling around for potatoes. With my other hand, I used a dull plastic trowel to gently shovel excess dirt into a bucket. Fortunately, these weren't planted quite as deep as the ones in the grow bag.


In the end, I harvested about the same amount of potatoes from the ground as I did from the grow bag, which, I admit, was a little disappointing. I planted three times as many potatoes in the ground as I did in that grow bag, and prepping that trench was a lot more work than just pouring potting soil in a bag. On the other hand, planting them in the ground was probably a lot cheaper.

If I plant them in the ground again, though, I'm going to have to find a way to either discourage the voles, or keep them out all together by building an underground fence.

Here are the potatoes that the voles got into. Apparently they really like the large ones, and they only eat about half of the potato and just leave the other half to rot underground.


After I pulled the potatoes, I had a bare spot in my veggie bed begging to be filled, and some spare plants needing a more permanent home.


 I planted 'Galapagos' tomato seedlings that were a gift from a friend. It's probably not quite enough space there for another tomato plant, but I really didn't have another space to put them. The internet tells me they are more heat tolerant than most tomatoes, so I was really excited to try them. My tomato plants usually fizzle out in July--I would love a tomato that can still bear fruit in July and August.


I also planted some extra basil seedlings that I didn't know what to do with. After all, what goes better together than tomatoes and basil?

Unlike my potatoes, my lemon verbena is thriving at the moment! It just came into bloom this week. The tiny blossoms aren't very showy, but I think they're pretty. They're edible and smell sweet and lemony, like the leaves.


I planted it about two years ago, and it's getting huge. Everything I read says it can grow into a six-foot-tall shrub. It was hard to imagine when I brought the cute little six-inch-tall plant home from the garden center two years ago. It's about three feet tall now!


The Southern Living Garden Book has a wonderful description of lemon verbena: "it's the herb that grew like a gangling shrub in grandmother's garden. When you read of the 'scent of verbena' in novels of the antebellum South, this is the plant being described." Not being from the South myself, Southern culture always fascinates me, and I'm happy to have a little piece of the "South" in my Georgia garden.

I read you can use lemon verbena in place of lemon zest in recipes, but I haven't tried it. If you're reading this and have any experience cooking with lemon verbena, please share your tips with me!

Wednesday, May 27, 2020

Peppers, Potatoes, and Cherry Tomatoes

My vegetable garden has changed a lot in the past month!

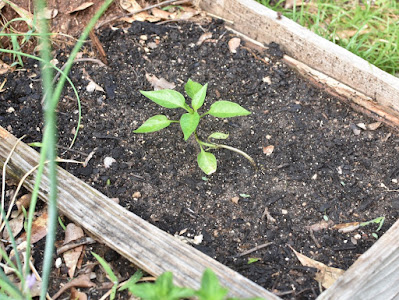
A couple of weeks ago I planted the pepper seedlings I had started from seed. They were a little slow going this year. I started them around the 1st of March, but even by late April I wasn't sure they were ready to transplant yet. Then I realized I didn't have enough pots or potting soil, so I had to make a supplies run (and figure out curbside shopping). But they're finally planted.


My husband loves peppers and experimenting with different ways of using them. In addition to cooking with them, he has also pickled them and made his own hot sauce. Most winters I hand him the seed catalog and let him pick out what varieties of peppers he wants me to grow that year. Usually it's jalapeno peppers and then something weird. This year's seeds ended up being 'Mellow Star' Shishito peppers and a jalapeno variety called 'Jedi'. (He's a Star Wars fan. I had to.)


We've found from experience that hot peppers really thrive in large pots. Jalapenos, especially, love heat and sunshine. We've also learned that deer love pepper plants. So I started planting a large pot of each pepper variety and putting them out near the vegetable beds where they get lots of sun (but are more vulnerable to deer). The I plant a pot of each close to the house where they don't get as much sun (but where the deer will definitely leave them alone). That way, I'm guaranteed some measure of success.


What little I could find on growing Shishito peppers suggested that they are used to cooler climates. I fear they won't tolerate our long, hot summers like jalapenos do. My vegetable and herb beds were pretty much full, but I found one space near the chives where I could make room for a Shishito pepper plant. Since the soil would be cooler in the ground, I am curious to see if that plant does any better than the ones in the pots. What can I say--the scientist in me is always collecting data.

In addition to peppers, I also started basil from seed this year. I had a ton of old basil seeds of various varieties from previous years--some as much as 5 years old. The germination rate goes down the longer they sit around, so I wasn't sure how many plants I would actually get. But I decided to clean out my seeds and just plant ALL of the basil seeds and see what happened. I ended up with a few more plants than I knew what to do with. I finally cleared a spot near the chives to plant a few, and just potted up the rest in small nursery pots I had, to either keep or give away.


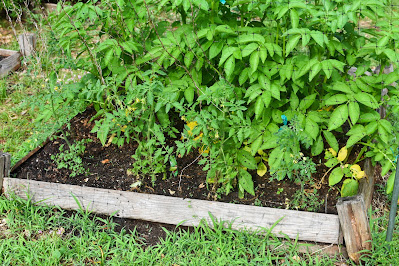
Meanwhile...boy have the other vegetables grown! The potatoes, especially, have kind of taken over.

Left to right: tomatoes, potatoes, bell peppers (somewhere under the potatoes), asparagus

The asparagus continues to send up new shoots every few weeks!

My tomatoes are still managing to grow while competing for space with the potatoes.

I even have baby cherry tomatoes.

And a baby zucchini! Look closely under the giant yellow flower.

Not all of my veggies have thrived this year though. I got a few tiny radishes, but maybe only half of them got large enough to even think about eating. Most of them were on the skinny side. The ones I did pick took about 5 weeks or so to mature. I picked the last of them over the weekend since the heat was setting in.

This radish was the roundest of all them--and the pinkest.

My bush beans have also been a struggle this year. About a third of the plants were eaten from the roots up and killed entirely by something tunneling. The internet tells me I have all the signs of voles, though I haven't seen them in person. The deer found the rest of the plants, and I discovered this scene one morning a couple of weeks ago:


I didn't think the fence would actually make a difference, or that deer would bother to walk through an open gate. (Our fence is not that tall. Larger deer can jump over if they really want to.) The fact that the bean plants got eaten after I left the gate open one night probably isn't a coincidence, though. I didn't give up on my beans entirely. I kept watering the leafless stalks to see what they would do, and over time they grew some leaves. They're stunted and will never be the same, but I did find a few small beans today!


All I can say is, I am thankful I am not actually dependent on my garden to feed my family. The world hasn't ended yet, and I can still find food at the grocery store. Anything I can harvest this summer will just be icing on the cake.

Monday, April 13, 2020

Planting complete...for now

In spite of the pollen trying to kill me, I finally finished planting my vegetable beds over the past two weekends.

Left to right: tomatoes, potatoes, bell peppers, asparagus


The first weekend, all I had the energy for was to plant one lone zucchini plant (it's there next to the strawberry plant in front of the beans). I fortified my defenses against the allergies and planted the bell pepper plants a few days later. This past weekend I planted the tomatoes and two more rows of beans.

By the way, I know the wood around our raised beds is kind of falling apart, please don't judge. We had grand plans to redo them and make them sturdier this year, but that was before we had to limit our shopping trips and stay home due to a pandemic. So this year's motto is reuse and make do. The plants don't mind and still grow just fine.

The potatoes I planted in the ground finally got tall enough for me to cover them up--which meant I could move the pile of dirt back into the potato row, making room to plant the tomatoes.


The potatoes had gotten quite weedy--I must have established my beds at the perfect time for all that weed grass seed to sprout--but it was okay since I was going to be piling six inches of soil on top of the weeds. Potatoes live, weeds die. Problem solved!


I planted two varieties of tomatoes. I kind of lost my mind when I went plant shopping this year. I planted two of a cherry tomato variety called 'Sweet Million' that I've pretty sure I've grown in the past. The upside of cherry tomatoes is that they're very prolific and seem to get very few diseases or pests. The downside is that the plants get HUGE. If you had something tall enough for them to climb, they would get nine feet tall. I planted them on the ends of the row so they would have more room to spread out, and planted two 'Cherokee Purple' tomatoes in between. The upside of Cherokee Purple tomatoes (an heirloom variety) is that they are DELICIOUS. I love all fresh tomatoes, but Cherokee Purple is probably my current favorite for flavor. The downside is that they tend to get diseases and insects in my garden, so I don't get to harvest very many. Hopefully the two varieties will balance each other out.


My beans sprouted this past week! They like all the rain we've been getting. It's easy to tell the two varieties apart--the purple bush beans, 'Royal Burgundy', have purple stems, while the yellow bush bean plants are completely green.


The radishes are getting bigger! They've graduated from little tiny seedlings to have real leaves. So far, so good.


I picked my first strawberry of spring. It was tiny but full of flavor!


One flower coming into bloom this week: my 'Sunset Cutie' gaillardia that I planted last spring. This perennial seems to bloom all the way from April to December here in Georgia. It's drought tolerant and attracts butterflies, so it's a winner in my garden.

Wednesday, April 1, 2020

When Change is Good

Sometimes people are surprised to learn that I don't like change. Change is hard. And there have been a lot of changes to my life that are out of my control these past couple of weeks.

My garden, though, is a wonderful reminder that change doesn't have to be bad. During this time of year, my garden is changing constantly! I take daily walks to see what has sprouted, grown, or bloomed.

Like these potatoes. On the one hand, the potatoes in the ground still look like a pile of dirt. Fortunately, though, I planted some in a grow bag a week earlier, and they're giving me a run for my money. You would not believe how fast the plants are growing! I already need to cover them up with more soil.


Aaaaand, my asparagus crowns started sprouting! Isn't baby asparagus amazing and adorable?

First asparagus sprout

Asparagus sprout a few days later. That's what happens to asparagus if you don't pick it and eat it.
The radish seeds I planted last Monday emerged within a few days. They're looking quite healthy. If you like radishes and instant gratification, I highly recommend growing them. But if you live in Georgia plant them today. They don't like the heat. And be prepared to water them constantly. I didn't have a spot in my garden planned for them, but they don't take up much space. I just pulled up a small patch of weeds next to my lemon verbena and planted them there. In theory I should have radishes by the end of April.


Some of my flowers also came back into bloom this week.


Over the weekend I prepped my second veggie bed and planted bush beans. I chose a purple variety ('Royal Burgundy') and a yellow variety ('Goldilocks') because those have generally been more prolific for me than regular green bush beans. And they're prettier. A couple of years ago I had grand plans for a strawberry bed there, but most of the plants died (I learned a lot about growing strawberries in the process, though.) So that's why there's one lone strawberry plant in the middle of the bed. I didn't want to disturb it.


Fortunately it's not freezing this week, but we are getting one last cold snap before the warm weather is here to stay. After we start getting more consistent warm weather, then I'll plant my other heat-loving veggies like tomatoes and peppers.