Saturday, April 17, 2021

Goodbye frost, hello veggies!

If you look up when to when plant summer vegetables like beans, tomatoes, peppers, and cucumbers, it will usually say something like "after all danger of frost has passed" or "2 weeks past your last frost date." Many gardeners eagerly start planting as soon as the plants start showing up at their local garden center, and are simply willing to cover them if temperatures dip below 40 again. Others point out that heat-loving plants like peppers and cucumbers do best when nighttime temperatures are consistently above 50 degrees, so it would be best to plant 2 weeks after your average last frost date. as a rule of thumb.

I fall somewhere between those two camps.

Here in Middle Georgia, heat can be as much of an enemy of plants as cold, even for tomatoes. Last weekend was our first weekend after our "last frost date," and the forecast said we would have a couple of mild rainy days before temperatures jumped into the 80s. (Also, I sort of had the itch to plant things.) So I went ahead and planted transplanted a few of my healthiest-looking seedlings.


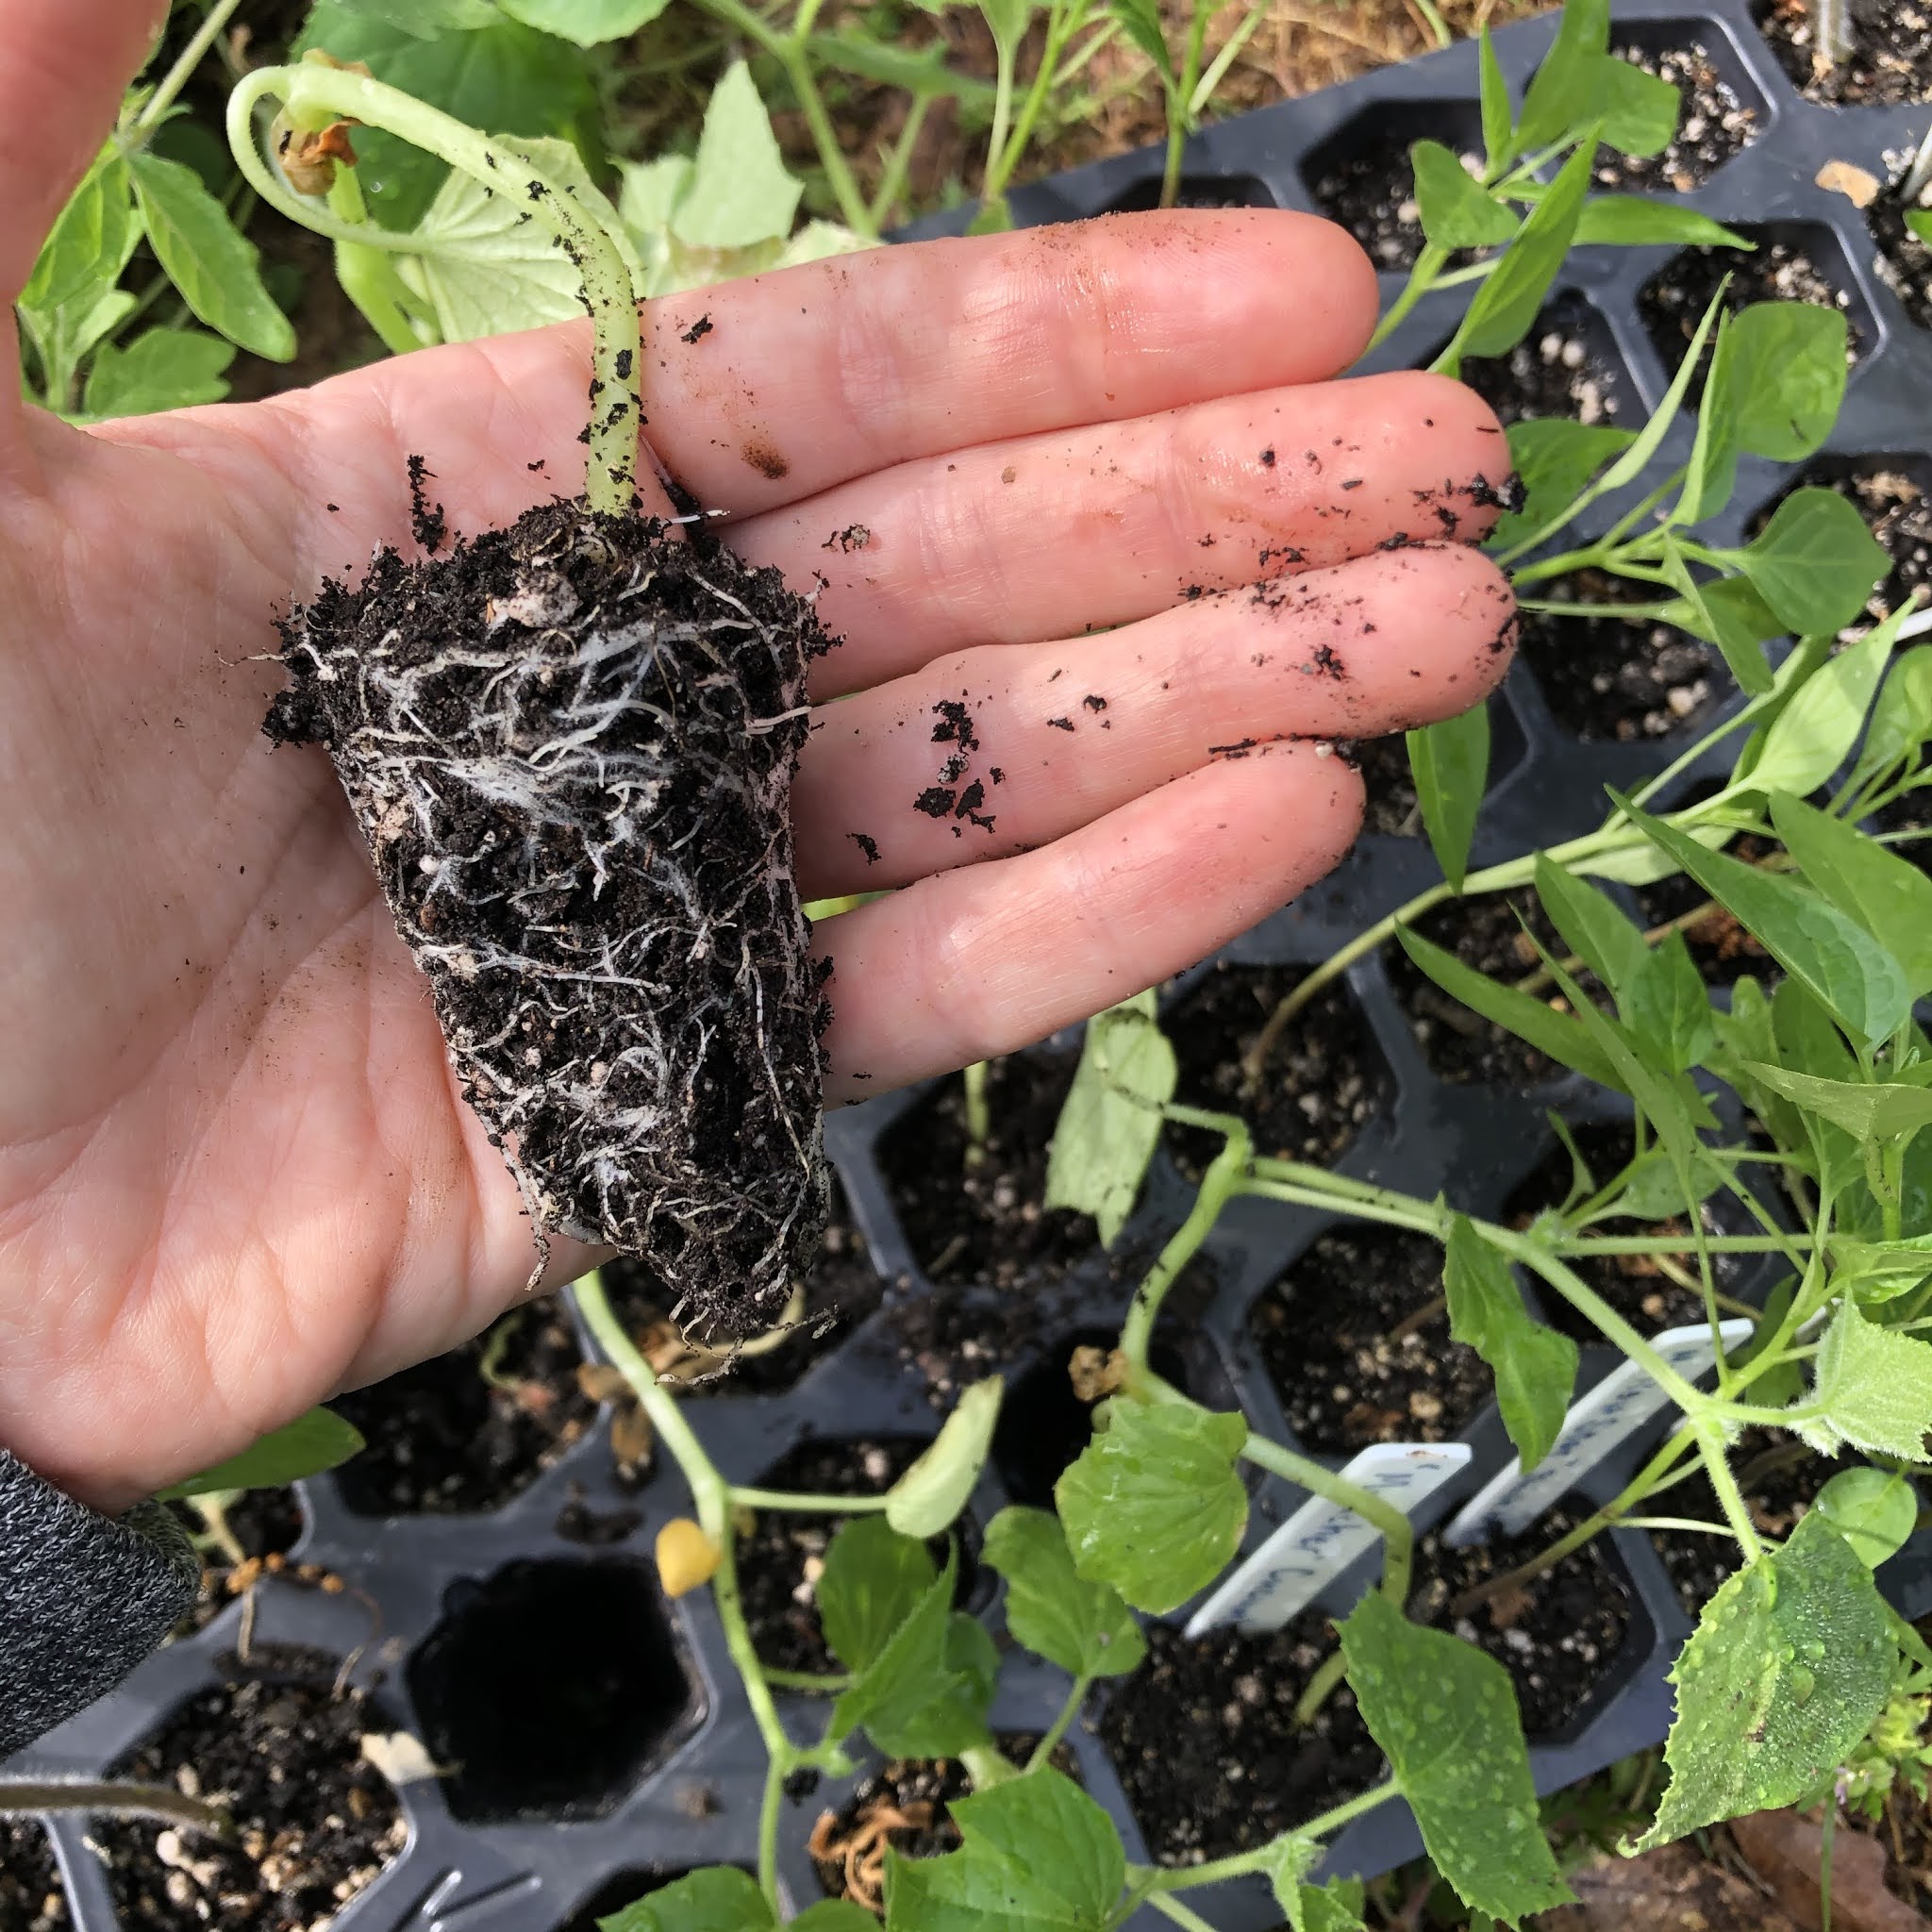
It turned out to be a mix. Some of the seedlings I pulled had enough roots for transplanting, but some didn't. I already pulled them out of the soil, though, so into the ground they went. At least I planted extras of everything, so if one dies, I'll just replace it. Ideally, though, you want your seedlings to have lots of roots, which usually comes after it's gotten a few leaves.


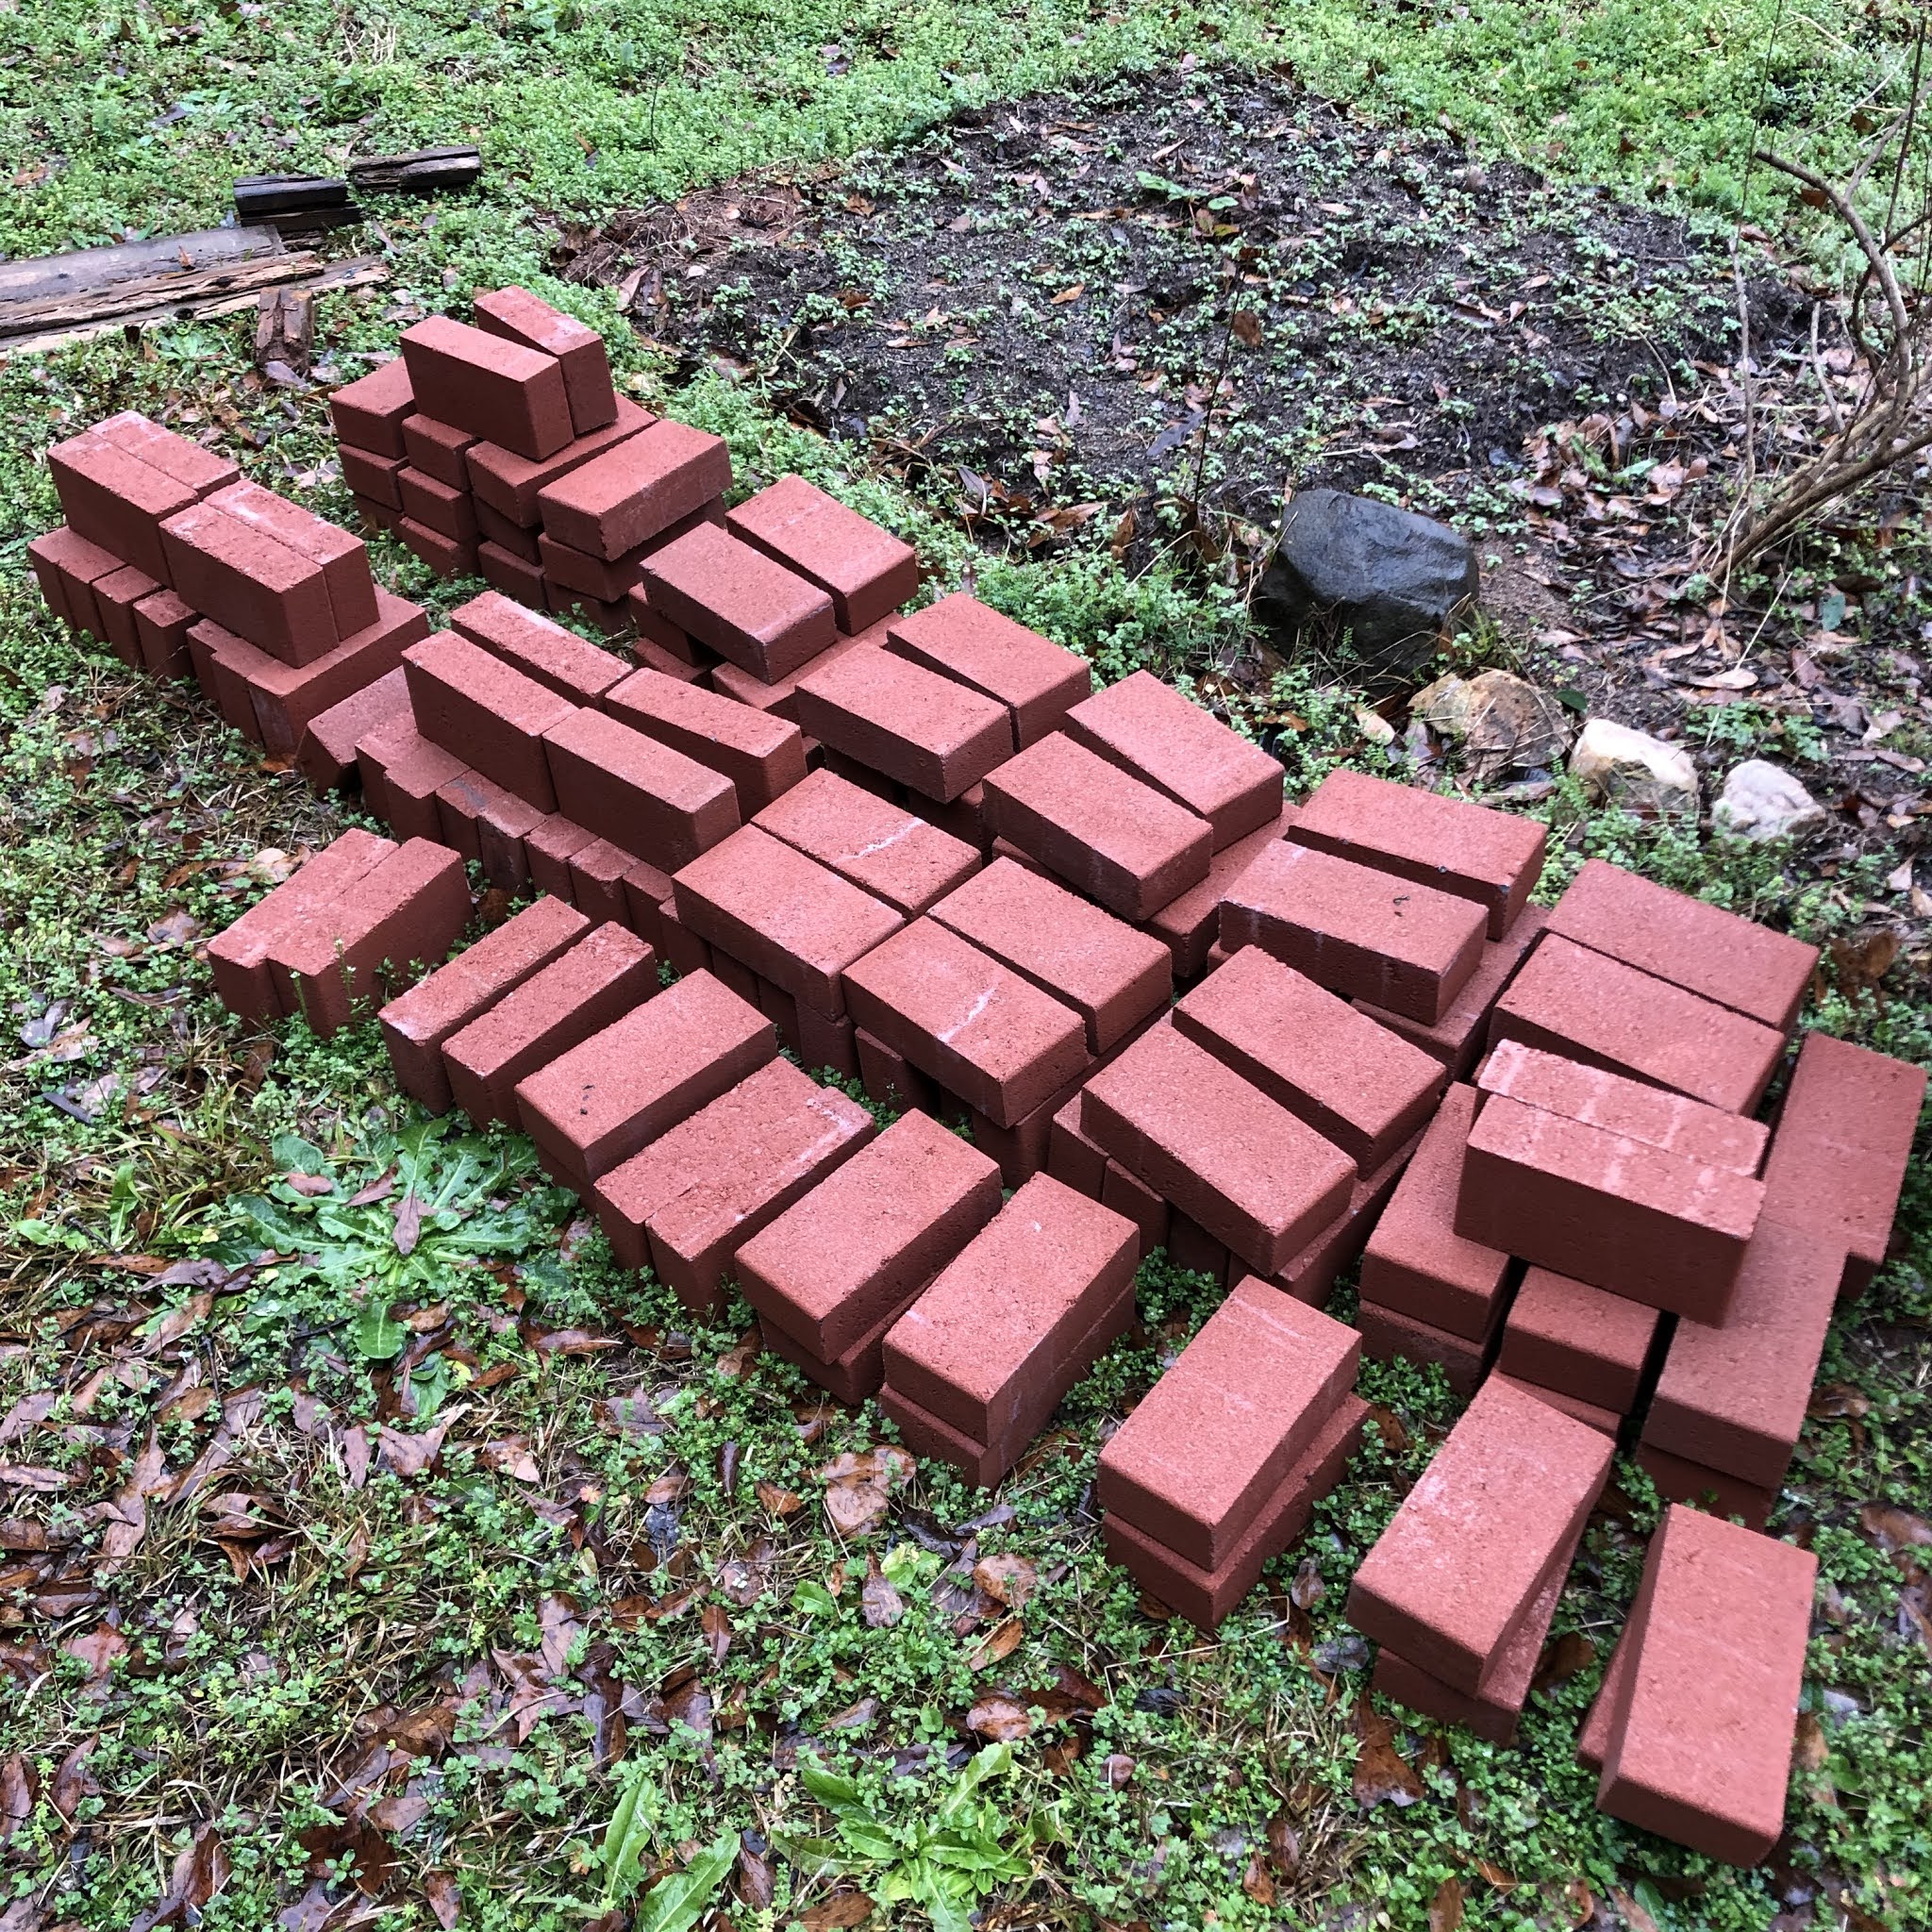
I planted tomatoes, peppers, and cucumbers. The tomatoes and peppers went into the brick bed I built last month. I had built it nice and tall, so I filled it in with a mixture of peat moss, vermiculite, and compost before planting the tomatoes and peppers. The compost will provide nutrients for my new plants for now. The cucumbers went into an older bed, so I mixed in some organic fertilizer before planting and mulched with a little Black Kow composted manure for good measure.

Potatoes, peppers, tomatoes, and my one 5-year-old strawberry plant

Tomato seedling

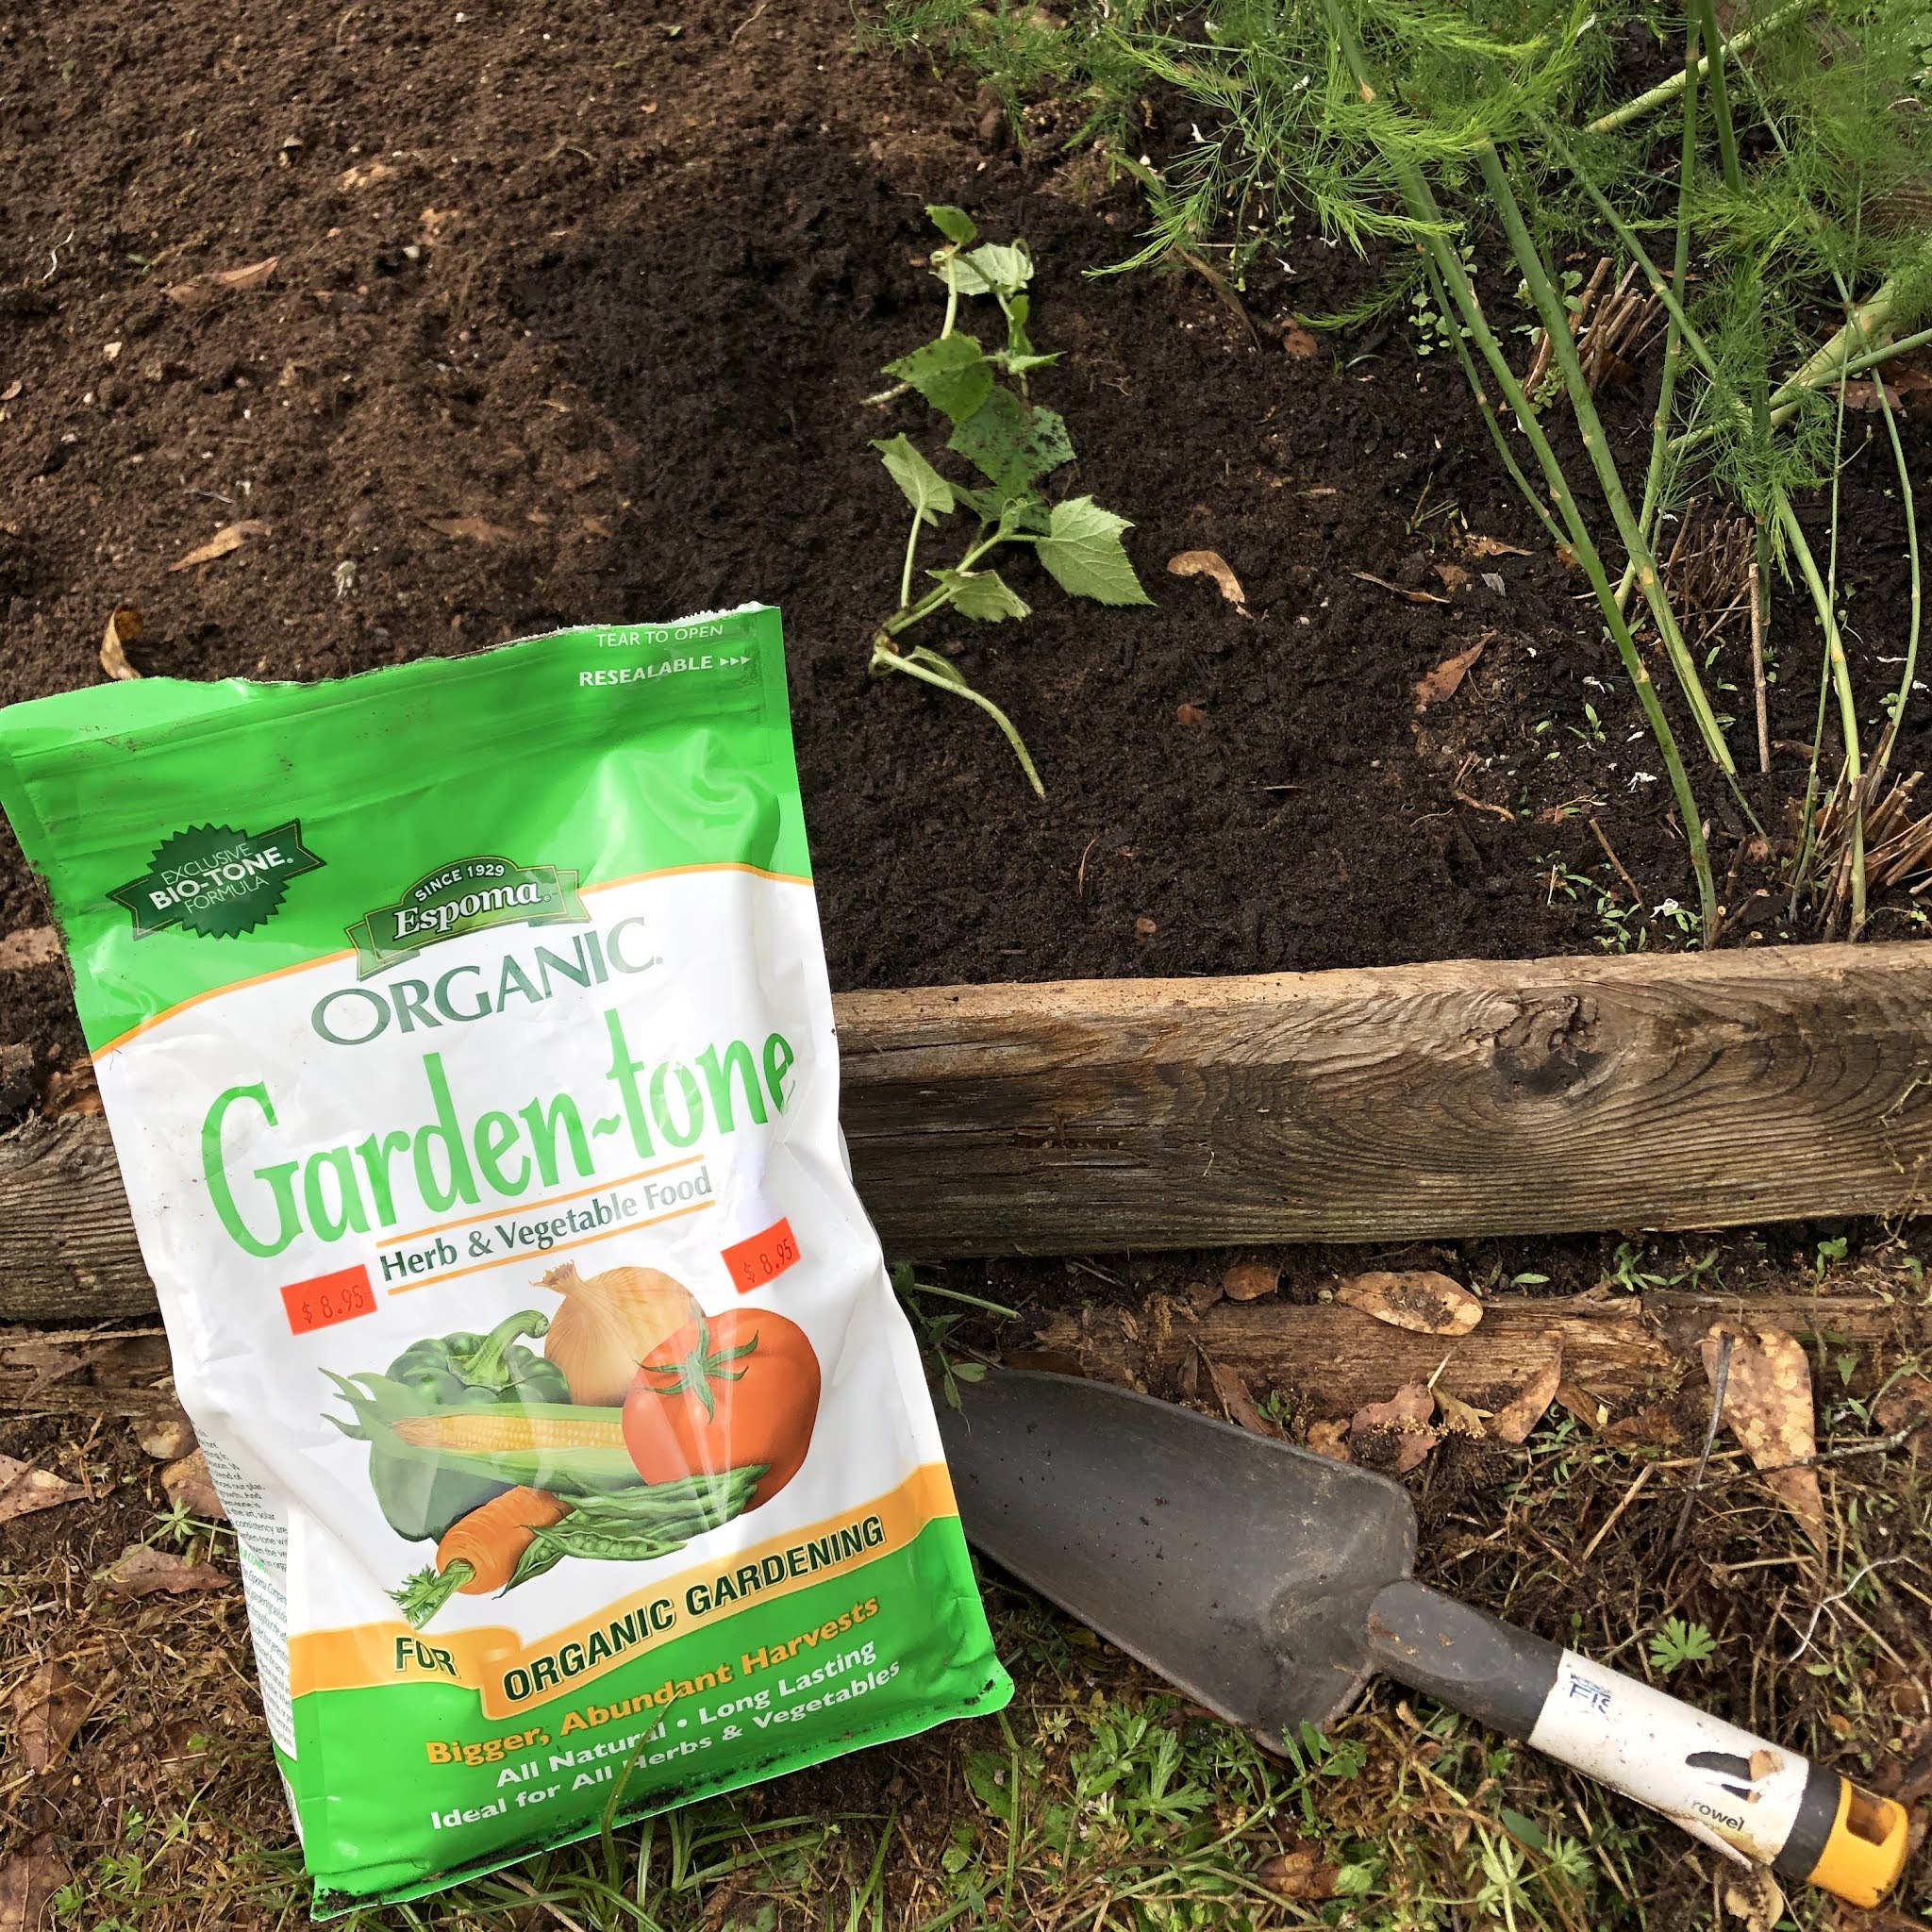
Cucumbers and fertilizer

This is my first time trying to grow cucumbers, but from everything I read, it seemed like they're easiest to grow vertically. I spaced them a foot apart, and then tried to figure out what to use for a trellis. I looked at several different things online before I decided I would just use some extra trellises I had at home. I don't know if they're tall enough, but at least they're free. As an added bonus, my trellis would also help me contain my asparagus shoots that were flopping everywhere. Now I feel fancy!

Peas, cucumbers, and asparagus

In the excitement of trying to figure out what to use for a trellis, I think I forgot to water in my cucumber seedlings after planting. Even though the soil was damp from recent rain, and scattered showers were forecasted that day, it wasn't enough. By the next day, my cucumbers looked just about dead.


I gave them a good soaking, and then babied them with water twice a day when temperatures jumped into the high 80s a couple of days later. They don't look like the healthiest specimens, but they're still alive at least. I'm thinking once they get established they'll grow new leaves and look just fine.

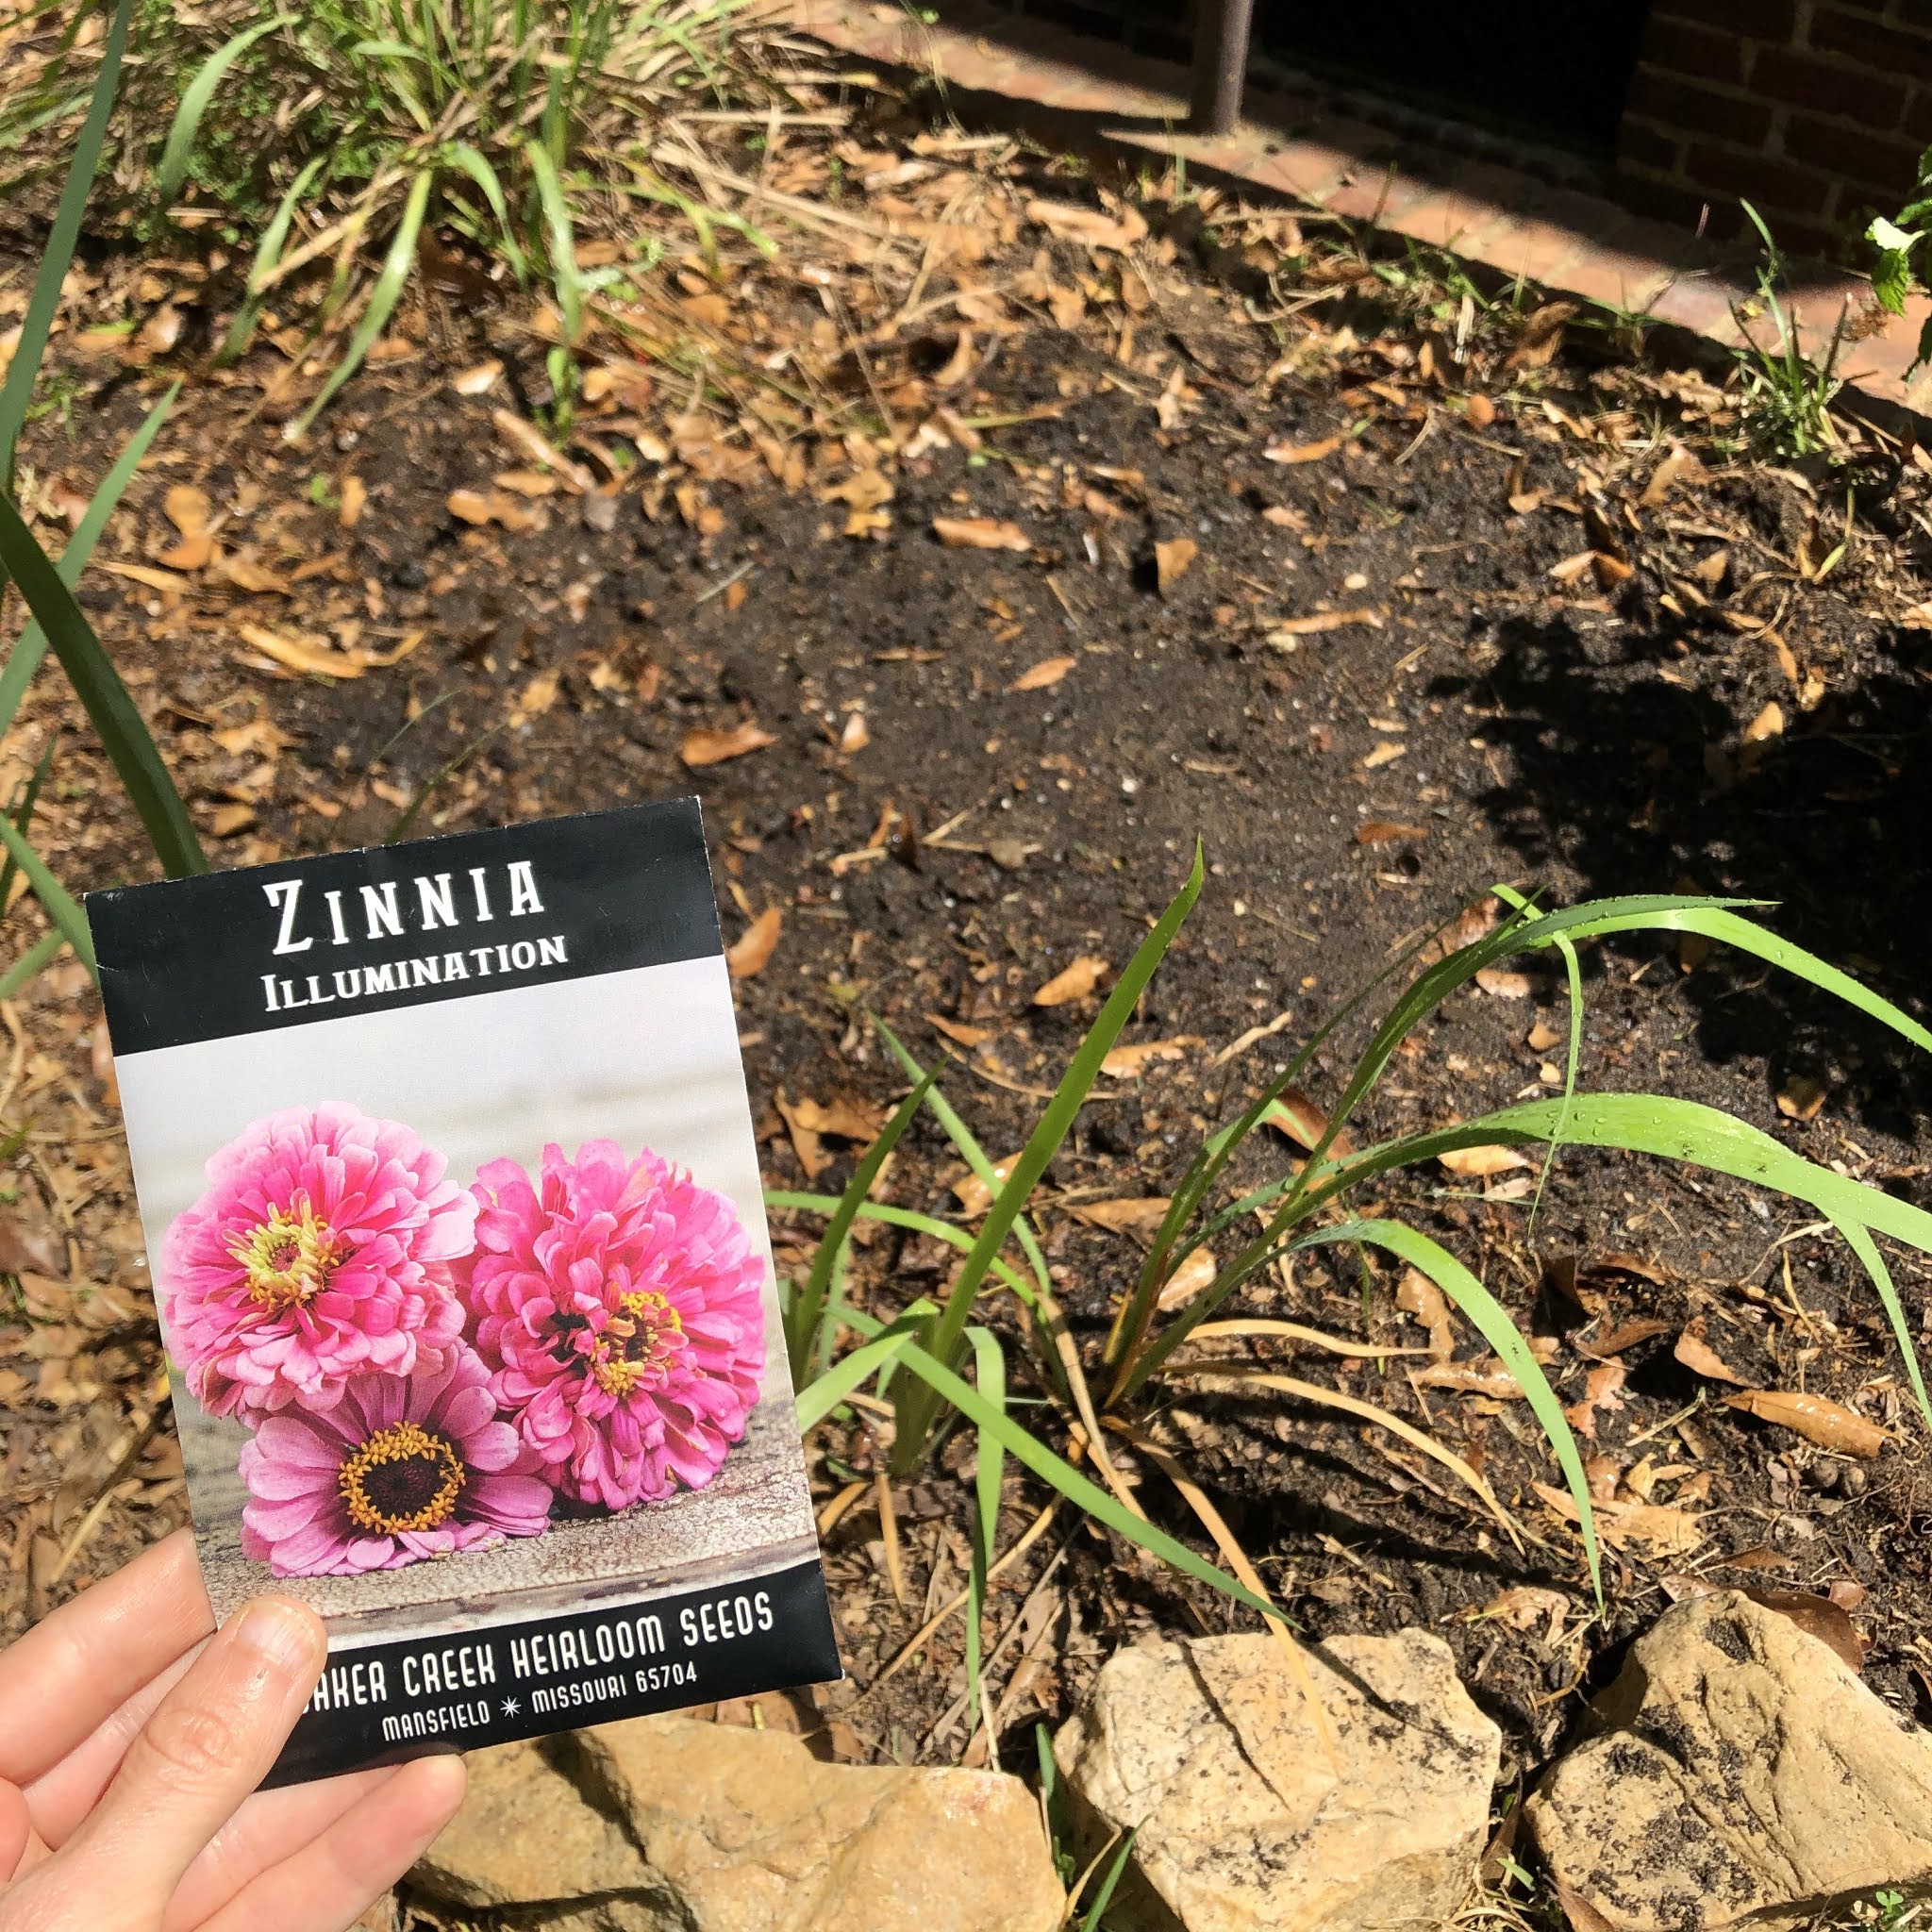
I also planted zinnia seeds this past week! Last year I planted some zinnia seedlings a friend gave me outside my window, and I was pleasantly surprised to see hummingbirds feeding on them. I'm planting even more this year just for the hummingbirds.


Of course, the only thing you can count on in Middle Georgia is that the weather will change... After a couple of hot days, the weather turned a little cooler again. The lows even threaten to jump down to 39 this week! At least my peas and potatoes are happy. I'll just bring my seedlings back inside for a couple of days if it turns out to get that cold.

Enjoy this weather while you can!

My roses certainly like this weather.

Sunday, March 21, 2021

Building a New Raised Bed


 As I mentioned in my last post, a little over a month ago I came home from the hardware store with 112 bricks and good intentions. My original wood beds have long since decayed into a poor semblance of a border, and my husband really wanted to replace them with long-lasting brick beds instead of wood that rots in a few years.

My husband and I are not huge DIYers. After a little research on Pinterest, I decided a loose brick bed was a good compromise. Even if my husband wanted to learn how to lay mortar, loose brick was less permanent and easier to throw together without any experience. If I didn't love how it came out, we could always take it apart.

Also, what I got from Home Depot wasn't actually brick. Technically it's just cement blocks dyed a reddish color. It's what was easily available to experiment. If I decide we have a future as bricklayers, I can always hunt down real brick later and redo the beds.

As if building with brick for the first time wasn't hard enough, I decided to make it more complicated by trying to line my new brick bed with an underground fence to keep voles out. I really didn't want voles killing most of the plants in my new raised bed like they did last year. The internet says voles won't dig deeper than a foot, so I got hardware cloth and cut it to the appropriate width.

If you want to build a loose brick raised bed, there are definitely easier ways to do it than how I did it! Needless to say, even with consistently nice weather, it took a few weekends to complete. First we had to build a trench at least a foot deep around the existing bed. Since I had gone through the trouble of filling my bed with the perfect mix of sand, compost and top soil originally, I wanted to keep that intact as much as possible.


Then, I had to try to snip pieces of hardware cloth with wire cutters into sides for my "fence," and attempt to flatten out wire that had lived its life rolled up in a circle. After flattening it more or less, I used the wire that wrapped up the roll originally, cut it into small pieces, and used the pieces to attach the sides securely together. That also took a while...

I tried to make calculations and take measurements and dig in the right spots, but let's just say that in the end I did not get a perfect square fence to go inside my brick walls. We made it fit, though.

I actually made my hardware cloth 15" in height, tried to get it evenly 12" deep all around, and then left a few inches above the trench that would go inside the brick walls of my new raised bed. I wanted to leave a little overlap so little voles couldn't, say, burrow between the hardware cloth and the brick. I didn't want it so high, though, that the hardware cloth would stick up and scratch me every time I pulled weeds.

After it was satisfactorily in place, we filled the trench in most of the way, while still leaving a trench 3" deep all around. Now it was time to actually start on creating a brick raised bed. We filled the shallow trench with builder's sand (it took about 3 50 lb bags). Then, I put the leftover rotted boards of the old border to use. I laid one down on top of the sand. I laid a level on the board to make sure my sand was more or less level (especially since we're building on a slight hill) and adjusted by hand as needed. Then, I used a small mallet to compact it down. I don't know if my system was perfect, but it was cheap.

Finally, we started laying the bricks out on the sand. This is where we learned our square wasn't perfect. On two sides the bricks had to be placed tightly against each other, and on the other two the bricks had to be spaced slightly, one more than the other. That was the only way the bricks would fit around the hardware cloth. This annoyed me at first, but in the end I decided it was probably close enough. At least we're not building a house here.

After putting down the first layer, I went around again with the board and the mallet, tamping the bricks into the sand. Finally, I stacked the rest of the bricks, staggering them as I went. This was the easiest part of the whole thing. 

I did not pull the level back out after that, it would just make me crazy. I actually sat on my little brick wall to finish pulling the rest of the weeds out of my bed. The bricks shift a little, but it holds, which isn't bad for a cheap, easy project. I just have to fix the bricks periodically. If I had young children, I wouldn't want to leave the bricks loose, they would just get knocked around all the time. If I still like it next year, I might try taking it apart and putting it back together with construction adhesive like my friend suggested.

I also planted potatoes this weekend! They were such a success last year, I couldn't wait to plant them again this year. I cut up some pieces last weekend with the intent to plant them in the grow bag and ran out of time. I hope they're not too worse off by sitting out for a week. Half of them went in the grow bag. The other half I ended up planting in my newly vole-proofed raised bed. I added a bag of composted manure to my bed after I finished the wall and mixed it in. It was just the right depth to start the potatoes. As the potatoes sprout and grow, I'll finish filling the bed with more compost and soil mix. 

It definitely looks like spring these days. (Yesterday was the first official day of spring, after all!) The seeds I planted indoors last month are looking really good. Well, except for the basil--I need to try again now that it's warmer. The spring flowers are emerging in my garden, too.


I planted this phlox several years ago so it would bloom pink during cherry blossom season.

My blueberries are getting pollinated!

Our cherry blossom tree bloomed right on time this year.

Sunday, February 14, 2021

Getting Ready for Spring

It's been a particularly cold winter, with very few of those pleasant warm days that are usually sprinkled throughout the season here in Middle Georgia. The last few days, in particular, have seen rain seemingly nonstop. Today the temperature won't even get above 45. For someone who grew up in South Florida, that's unbelievably cold!

In the years I've lived here in Georgia, I've learned that as much as I dislike the cold, it's the grey skies that are the worst. Just give me one sunny day in February, and I'll start acting like it's a perfect spring day in April, no matter how cold it is. That was the case last Sunday.

My husband laid down for his usual Sunday afternoon nap, and I started getting the itch to plant things. It was the perfect time of year to plant spinach and peas from seed, after all. Of course then I remembered that the wood around my raised bed was in need of repairs, so off I went to the hardware store for supplies. To make a long story short, I ended up coming home with 112 bricks, all because the sun came out.


By the time I finished loading and unloading all those bricks, it was too late in the day to work on anything else, so they're still sitting there waiting for another nice day. I've never tried building a raised bed out of bricks, but it doesn't sound like a quick project from the research I've done. I decided not to let a cold, wet weekend stop me from working on other garden projects today, though. I got most of my vegetable and basil seeds started for transplanting outside in April.


This year I'm growing 'Muncher' cucumber plants, 'Bonny Best' tomatoes, 'Burrell's Special' tomatoes, 'Granadero' tomatoes, 'Jedi' jalapenos, 'Mellow Star' Shishito peppers, Sweet Chocolate peppers, 'Nufar' Italian basil, and 'Red Rubin' purple basil. Plus, for a friend I'm starting Lime Basil and 'Orange Hat' tomatoes.

Last year I felt like my seedlings took forever to get big enough to transplant--way past when I normally get my summer vegetables in the ground. But I'm planting seeds a couple of weeks earlier this year. I think last year I was unplugging my heat mat at night, which probably wasn't a good idea. I'll leave the heat mat plugged in 24 hours a day until they germinate at least, and hopefully that will speed things up. I actually bought a little indoor thermometer before I started my seeds to satisfy my curiosity. Even though our house is 68 degrees during the day, that spot by the window where I start my seeds doesn't get above 64 degrees when it's this cold out. I commandeered a spare meat thermometer, which confirmed that the soil for my seeds is a nice 74 degrees with the heat mat on. Since the heat mats say they will raise the soil temperature 10 degrees, that's right where it should be.


I decided to grow some extra plants this year with plans to give them away later. I don't necessarily have anyone in particular in mind for most of them (which is unusual for me, since I usually have a plan). But the popularity of sharing seedlings last year inspired me for this year. This way at least I'll be prepared if an opportunity presents itself.

I took advantage of a break in the rain today to plant some spinach seeds. I'm not sure how long it's going to be until my raised bed is ready for planting at this rate, but I imagine spinach will do pretty well in a container since the plants don't get huge. The seeds were just leftover from years ago, so even if they don't thrive, it's fine.


I ended up having to make another hardware store run this weekend when I ran out of plant labels for my seedlings. Apparently even on a cloudy day that's dangerous for me this time of year. I couldn't say "no" this adorable little houseplant sized banana plant. Even if I'm not in the Sunshine State, at least I can enjoy a little bit of the subtropics indoors until the weather warms up.


At least the camellias are blooming right now, even if everything else is waiting for warmer temperatures.