Wednesday, April 22, 2020

Fighting entropy

Gardens are a lot of work. And mine, in particular, is continually attempting to return itself to something like a forest. A weedy forest. Cute wooden structures break down over time, and tree seedlings quickly threaten to take their place.

The compost bin my husband and I built in 2012 is still standing, amazingly. It leans a little bit, and the wooden posts are turning into compost, but the chicken wire cylinder is still upright and full of compost. I add all of our fruit and vegetable scraps to it regularly, as well as leaves from our yard when I start to clean up the garden every spring.

The compost bin in 2012
The compost bin in 2020.
Besides that, though, it's been a little neglected. Sure, if you're a dedicated composter, you'll turn your compost pile regularly with a shovel or pitchfork. But I'm lazy, and not really in a hurry. And, as I said, nature still will break things down over time, whether or not you turn your pile. It just takes a little longer. Since I did so little gardening last year, I didn't have much need for compost. Even when I am gardening, I probably produce more compost than I have use for.

So over time, all that rich, mature compost just sat at the bottom of the pile. I needed more soil to pile up over my potatoes, so I decided to substitute my compost in pinch. It's something in between soil and mulch, so I hoped it would serve the purpose well. When I tried to pull some out from the compost bin, though, I found something like tree roots had made themselves at home there. It was clear my compost was overdue for some attention. So I lifted up the chicken wire and went to town pulling out thick roots of all kinds. After that I took a shovel to the top and tried to break up and stir up the leaves and twigs I had added. It should be much happier now.

It looked like a tree was trying to grow UNDER the compost?

And more roots in the compost pile....

Much better!

Roots aside, I was still able to get two buckets of compost out of my pile, and covered up my potatoes as best as I could.

My compost is somewhere in between soil and mulch.


My little potato hill after adding compost to my potatoes

My next project was the mint bed. I wish I had gotten a before photo, but frequently I just notice things and start working on them and then only think about getting a photo when I'm halfway through. Basically, it didn't look like a mint bed anymore. It was mostly oak seedlings, oxalis, and other weeds. I was amazed to discover there was actually still mint growing in there when I looked closely.

This once was a raised bed full of spearmint...halfway done removing the weeds.
I thought I would just mow the whole thing down, but I was afraid the tree seedlings would find a way to grow back. (Also, there's a large ant pile living in there.) Since there actually was some mint in there, too, I decided to take a more surgical approach. I pulled up the oxalis by hand and used a shovel to dig up every tree seedling. With the mint roots being much more shallow than the oak roots, I thought it might survive the process. (And if not, oh well--I was ready to give up on all of it anyways.) When I finished, I gave the mint a good watering to help it through the trauma.

It's not pretty, but weeds are gone! Don't let that mint fool you--it could fill that entire bed by the end of the summer.
Weeds aren't the only thing flourishing in my garden, though! Can you believe how much my potatoes have grown since my last post? And my potatoes in the grow bag have grown into a small shrub! Even the chives are flowering this week.

Left to right: tomatoes, potatoes, bell peppers, asaparagus

Potato bush
Chives in bloom

Monday, April 13, 2020

Planting complete...for now

In spite of the pollen trying to kill me, I finally finished planting my vegetable beds over the past two weekends.

Left to right: tomatoes, potatoes, bell peppers, asparagus


The first weekend, all I had the energy for was to plant one lone zucchini plant (it's there next to the strawberry plant in front of the beans). I fortified my defenses against the allergies and planted the bell pepper plants a few days later. This past weekend I planted the tomatoes and two more rows of beans.

By the way, I know the wood around our raised beds is kind of falling apart, please don't judge. We had grand plans to redo them and make them sturdier this year, but that was before we had to limit our shopping trips and stay home due to a pandemic. So this year's motto is reuse and make do. The plants don't mind and still grow just fine.

The potatoes I planted in the ground finally got tall enough for me to cover them up--which meant I could move the pile of dirt back into the potato row, making room to plant the tomatoes.


The potatoes had gotten quite weedy--I must have established my beds at the perfect time for all that weed grass seed to sprout--but it was okay since I was going to be piling six inches of soil on top of the weeds. Potatoes live, weeds die. Problem solved!


I planted two varieties of tomatoes. I kind of lost my mind when I went plant shopping this year. I planted two of a cherry tomato variety called 'Sweet Million' that I've pretty sure I've grown in the past. The upside of cherry tomatoes is that they're very prolific and seem to get very few diseases or pests. The downside is that the plants get HUGE. If you had something tall enough for them to climb, they would get nine feet tall. I planted them on the ends of the row so they would have more room to spread out, and planted two 'Cherokee Purple' tomatoes in between. The upside of Cherokee Purple tomatoes (an heirloom variety) is that they are DELICIOUS. I love all fresh tomatoes, but Cherokee Purple is probably my current favorite for flavor. The downside is that they tend to get diseases and insects in my garden, so I don't get to harvest very many. Hopefully the two varieties will balance each other out.


My beans sprouted this past week! They like all the rain we've been getting. It's easy to tell the two varieties apart--the purple bush beans, 'Royal Burgundy', have purple stems, while the yellow bush bean plants are completely green.


The radishes are getting bigger! They've graduated from little tiny seedlings to have real leaves. So far, so good.


I picked my first strawberry of spring. It was tiny but full of flavor!


One flower coming into bloom this week: my 'Sunset Cutie' gaillardia that I planted last spring. This perennial seems to bloom all the way from April to December here in Georgia. It's drought tolerant and attracts butterflies, so it's a winner in my garden.

Wednesday, April 1, 2020

When Change is Good

Sometimes people are surprised to learn that I don't like change. Change is hard. And there have been a lot of changes to my life that are out of my control these past couple of weeks.

My garden, though, is a wonderful reminder that change doesn't have to be bad. During this time of year, my garden is changing constantly! I take daily walks to see what has sprouted, grown, or bloomed.

Like these potatoes. On the one hand, the potatoes in the ground still look like a pile of dirt. Fortunately, though, I planted some in a grow bag a week earlier, and they're giving me a run for my money. You would not believe how fast the plants are growing! I already need to cover them up with more soil.


Aaaaand, my asparagus crowns started sprouting! Isn't baby asparagus amazing and adorable?

First asparagus sprout

Asparagus sprout a few days later. That's what happens to asparagus if you don't pick it and eat it.
The radish seeds I planted last Monday emerged within a few days. They're looking quite healthy. If you like radishes and instant gratification, I highly recommend growing them. But if you live in Georgia plant them today. They don't like the heat. And be prepared to water them constantly. I didn't have a spot in my garden planned for them, but they don't take up much space. I just pulled up a small patch of weeds next to my lemon verbena and planted them there. In theory I should have radishes by the end of April.


Some of my flowers also came back into bloom this week.


Over the weekend I prepped my second veggie bed and planted bush beans. I chose a purple variety ('Royal Burgundy') and a yellow variety ('Goldilocks') because those have generally been more prolific for me than regular green bush beans. And they're prettier. A couple of years ago I had grand plans for a strawberry bed there, but most of the plants died (I learned a lot about growing strawberries in the process, though.) So that's why there's one lone strawberry plant in the middle of the bed. I didn't want to disturb it.


Fortunately it's not freezing this week, but we are getting one last cold snap before the warm weather is here to stay. After we start getting more consistent warm weather, then I'll plant my other heat-loving veggies like tomatoes and peppers.

Tuesday, March 24, 2020

Return of the Garden on Boulevard

I can't believe it's been almost 6 years since I last updated my blog! Like many people this spring, I decided to plant a big vegetable garden. I plant veggies every year, but I planted hardly any last year. Current events, however, gave me the motivation I needed to plant lots of veggies and try new things. I may regret all of it when the heat of summer hits, we'll see...

With the new gardening enthusiasm, I wanted to return to my blog for the same reasons I started it:

  • to keep a journal of what I did and what worked (and what didn't) that I can refer to later
  • to assist other gardeners looking for examples or advice.
So, back to the garden. I've always wanted to grow potatoes, and I decided this was the year to finally try it. The local hardware store had seed potatoes, and one of my favorite kinds at that: 'Yukon Gold.' Asparagus was also on my gardening bucket list, so while I was there I bought a bag of asparagus crowns purely on impulse. You only live once.

My research told me I needed a little over 3 lbs of seed potatoes to feed my husband and I, so a 5 lb bag seemed perfect. I cut up a couple into large pieces, making sure each piece had at least one healthy looking eye--these eyes already had nice little green buds coming out of them. I told a friend of my plans, and she gave me her potato grow bag from Gardeners Supply that she wasn't using. I read the directions online, and the first 5 pieces went into the grow bag with whatever leftover potting soil I had around and a handful of fertilizer (potatoes like a lot of fertilizer). I planted the potatoes shallow, but as they sprout I'll cover them up with a little more soil bit by bit until the bag is full.


The rest of the potatoes were going in the ground with the asparagus--a much bigger ordeal.

I mostly use the Square Foot Gardening method developed by Mel Bartholomew. I've been fond of it since I got my grandfather's copy of the original book from the 1980s. But over the years I've learned to adapt it to my own preferences and to our Georgia climate. I had a 4' x 4' bed that I put in a few years back with "Mel's mix," but it was covered in weeds and one giant ant hill from a winter of neglect. After clearing out the uninvited guests, I enriched it with a couple of bucket fulls of compost from my compost pile and a bag of composted cow manure. It took a couple of hours to prepare the bed, but good soil preparation is always worth it.


After that, I started with the easy part first--planting the asparagus crowns. I bought 2-year crowns, and it takes 3 years for asparagus to mature before you can harvest it. That means I can harvest my first asparagus...some time NEXT spring. Gardening isn't always about instant gratification.

Cute little baby asparagus!

Spreading the roots out before I cover them up

After planting. There are asparagus plants in there, I promise.

Then for the potatoes. I cut them into pieces like before, and let them rest a day before planting to heel over (a recommendation I read online).


Potatoes like to be planted deep with lots of loose soil for them to form nice fat potatoes in. My raised bed was more shallow with heavy clay soil underneath. You can also compensate with some mounding later, but I didn't want to have to do too much of that, either. So I found the middle ground. I dug a nice deep trench 12" wide and maybe 9" deep. As I moved the soil aside, some of the clay at the bottom of the trench got mixed in with the enriched soil from the top of the bed. Then I pushed some of the loosened dirt back into the trench to make a resting place for my potatoes, and spaced the pieces out as needed.


After that, I took some more of the loosened soil and just covered the potatoes, followed by some organic fertilizer. The rain did me a favor and watered it in for me that evening.

There are potatoes in there, I promise.
 Since the trench wasn't filled in all the way, I'll do the same thing I did with the grow bag, fill in the trench more after the potatoes sprout, and maybe end up mounding some soil if needed.

I finished planting those a couple of days ago. We've had frequent rain and mild temperatures since then, so the asparagus and potatoes should be off to a good start. I'll post some progress photos later.


Thursday, May 29, 2014

The Vegetable Bed Becomes the Kitchen Garden

Last spring I eagerly built a 4' x 4' raised bed for vegetables, convinced I would get a bountiful harvest. I know a lot about gardening, but I lacked experience with vegetables. I carefully followed the instructions in the All New Square Foot Gardening book, and my garden looked beautiful and organized most of the summer. I learned a lot, but I can't say I produced a lot of vegetables. I think my biggest mistake was underestimating how much sun I got in the spot where I located my bed. I also had a few watering issues--forgetting to water on a couple of hot days and, later on, getting too much rain for the tomatoes.

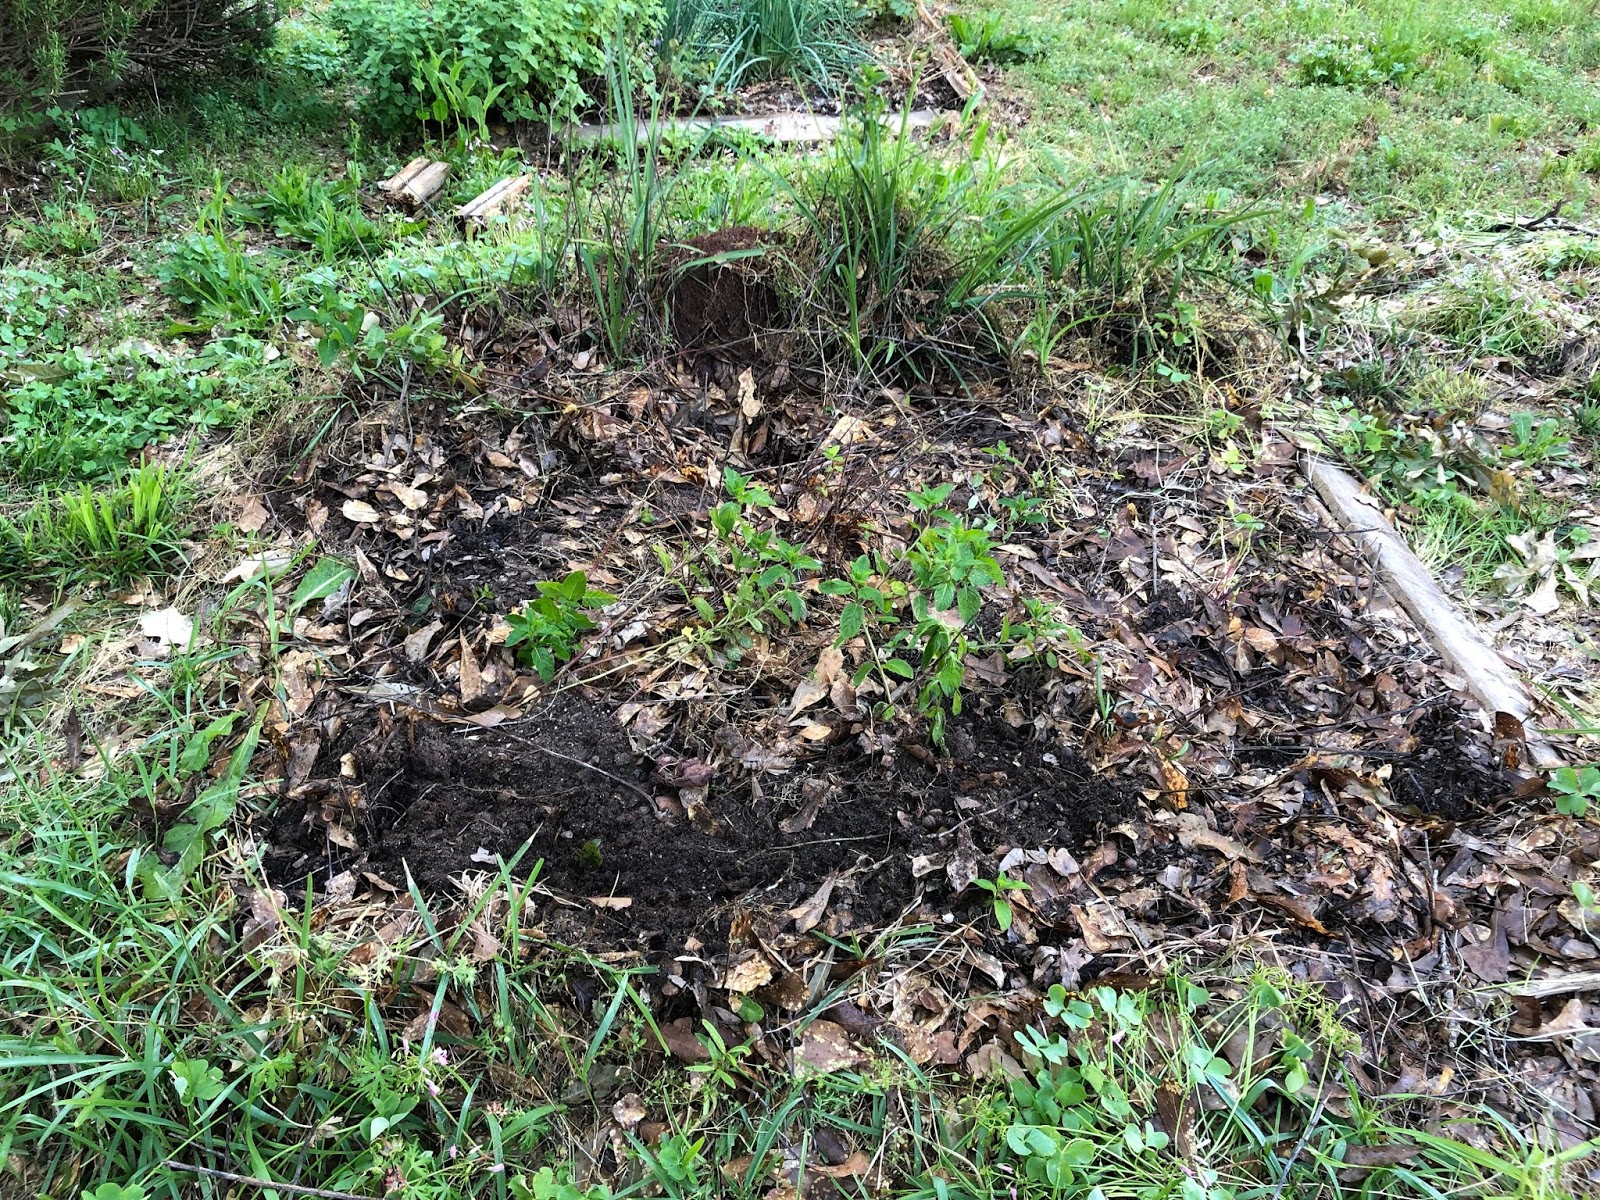
Last year's vegetable bed, as you can see, is covered in
shade in the middle of the afternoon. The mint and parsley
don't seem to mind, though.

This year, I've expanded quite a bit. The biggest change came when I decided to start a fresh cut herb business. My single small raised bed has now become seven raised beds that cover a total of 144 square feet. They contain a mix of mostly herbs, some vegetables, and a few flowers. Why flowers? Well, in addition to being great for cutting, they also will attract beneficial insects to my little organic garden.


My planting plan is loosely based on square foot gardening in order to make the most out of my space. With some of the perennial herbs, though, I had to give them a little extra space (especially mint and oregano), so they don't fit neatly in little squares. You'll see some gaps in my garden right now, mostly because plants are expensive! I'll take cuttings of some of my perennial herbs and fill in most of the holes this fall.


To save some money, I learned a lot about starting plants from seed this year. Starting from seed also allows me to experiment with varieties that are more disease resistant or tolerant of our Southern heat. I had success with growing tomatoes, peppers, parsley, and basil from seed indoors. (The chives were a flop.) I also planted squash, bean, sunflower, zinnia, and cilantro seeds directly into the garden.

If you look closely, you can see my little tiny tomato seedlings
in the upper left hand corner.

My focus on vegetables was on things I wanted to eat and weren't too hard to grow. Roma tomatoes are so versatile and perfect for salads, salsa, and homemade spaghetti sauce. Pole beans just seem like a staple of summer. We found this unusual white patty pan squash with some friends at a farmers market last summer, so I hunted down some seeds and planted it this year. My husband likes to grow and cook with some unusual peppers, so I planted these just for him.

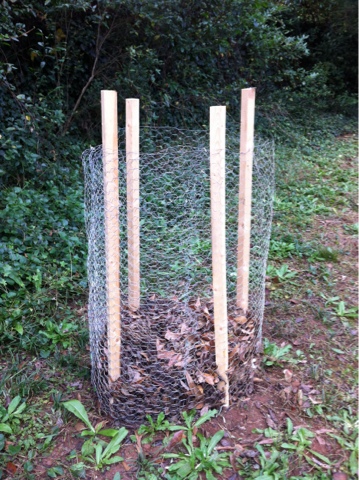
That squash plant will fill up that bed and
then some by the end of the summer. I
don't think the beans will mind.
Everything else is herbs: basil, chives, cilantro, mint, oregano, parsley, rosemary, sage, and thyme. The tall grassy thing in the pictures is garlic--not really an herb, but an important culinary seasoning. I chose the herbs I thought people most commonly cooked with to start out with. So far they've produced enough to satisfy the demand at my local farmers market and then some. If you live in Macon, you can find me and my herbs at the Mulberry Street Market on Wednesday afternoons.

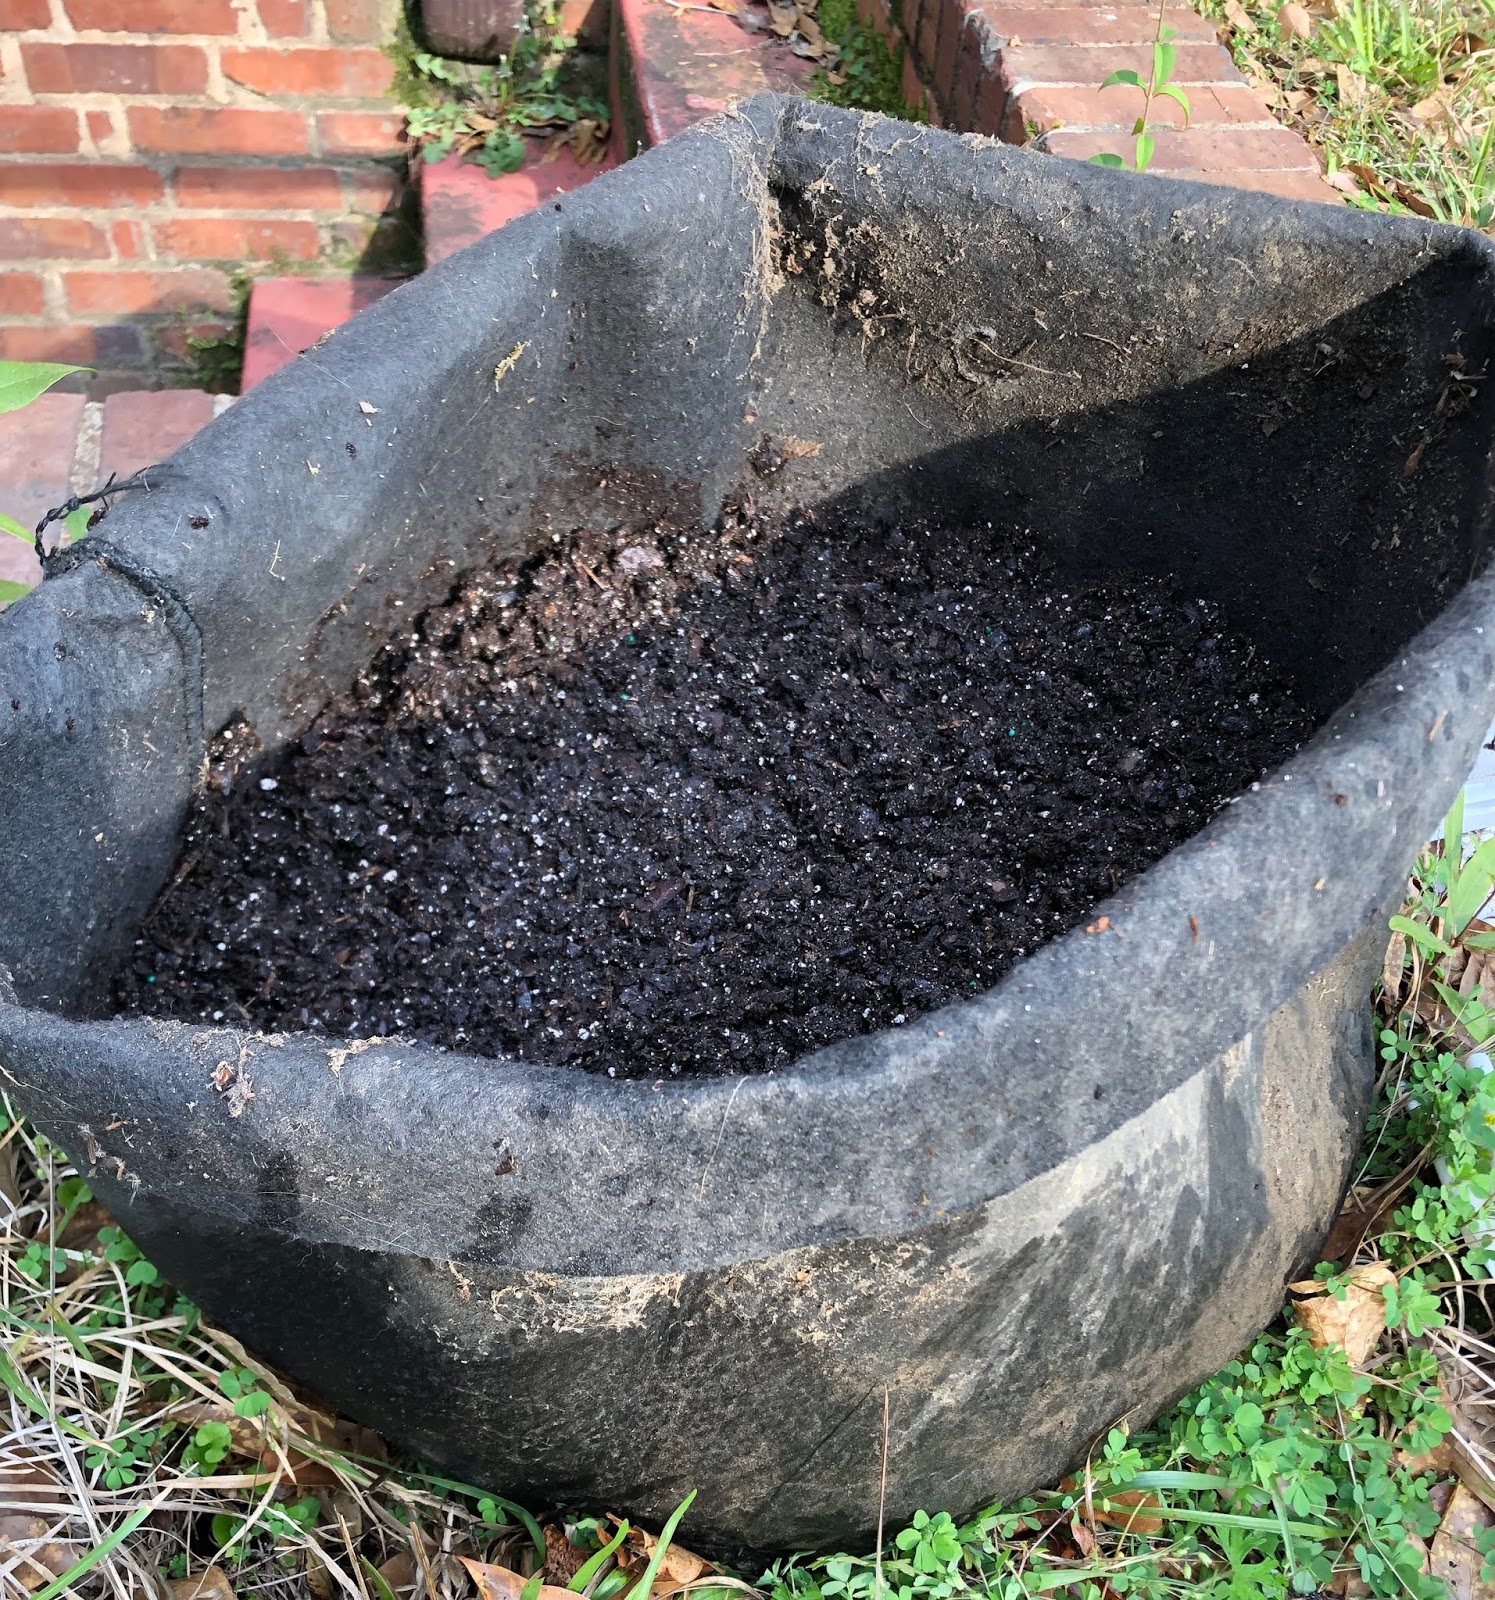
My little basil plants got a slow start this year.
If you're curious, here's my complete planting list:

Vegetables
Tomato 'Granadero (F1)'
Pepper 'Capperino (F1)'
Squash 'White Bush Scallop'
Pole beans 'Garden of Eden'

Herbs
Onion chives
Spearmint
Greek oregano
Common sage
French thyme
Rosemary 'Tuscan blue'
Basil 'Aroma 2 (F1)'
Basil 'Nufar (F1)'
Cilantro 'Slow Bolt'
Italian parsley

Flowers
Sunflower 'Summer Cutting Mix'
Zinnia 'All Summer Cutting Mix'

What are you growing in your kitchen garden?

Friday, May 16, 2014

The Cottage Garden, Year 2

 One of the very first projects I worked on in my garden was ripping out the bushes in front of my house and creating cottage-garden-style beds. Last year I mainly worked on the bed to the east side of my front door, which you can read all about here. That bed looked beautiful in the spring, but I discovered in the summer that the late afternoon sun was settling on my 'Twist-N-Shout' hydrangea and burning it to a crisp. I also discovered that I had poorly planned for winter, and that bed looked positively naked in January. My solution was to move the hydrangea to a shadier spot and replace it with a rosemary I've grown from a cutting. That spot might be too wet for rosemary (the surrounding plants need a lot of water), but since the plant is free I don't mind experimenting.

The first cottage garden bed from year 1 (above) to year 2
(below).

Everything else in that bed has pretty much doubled in size. The irises are currently covered in blooms and flopping all over the place. The climbing hydrangea has almost covered the trellis, and the lemon balm and bugleweed are competing for space.

Clockwise from top left: foxglove with iris, lemon balm with
bugleweed, hydrangea, and rosemary.

 This spring I finished filling the bed on the other side of the front door with plants. Much less planning went into this one than the last one. I just couldn't make up my mind, so I kept sticking plants I liked in there until I was done. It's a mix of plants from the first bed, other freebies, and a few impulse purchases. I played a lot with textures in this bed. I'll probably rearrange it next year after I see how all the plants do this year.

The new cottage garden bed 
Clockwise from top left: pink 'Flower Carpet' rose,
'Barbecue' rosemary with 'Silver Mound' artemisia,
hydrangea, iris with lemon balm.
In addition to the plants pictured above, I added some summer-blooming perennials which I'll add pictures of when they bloom later: 'Robert Poore' summer phlox and 'Summer Berries' yarrow. I like the appeal of different plants coming into bloom at different times, so those should give me something to look forward to during the heat of summer.

Feel free to leave a comment below if you have any questions!