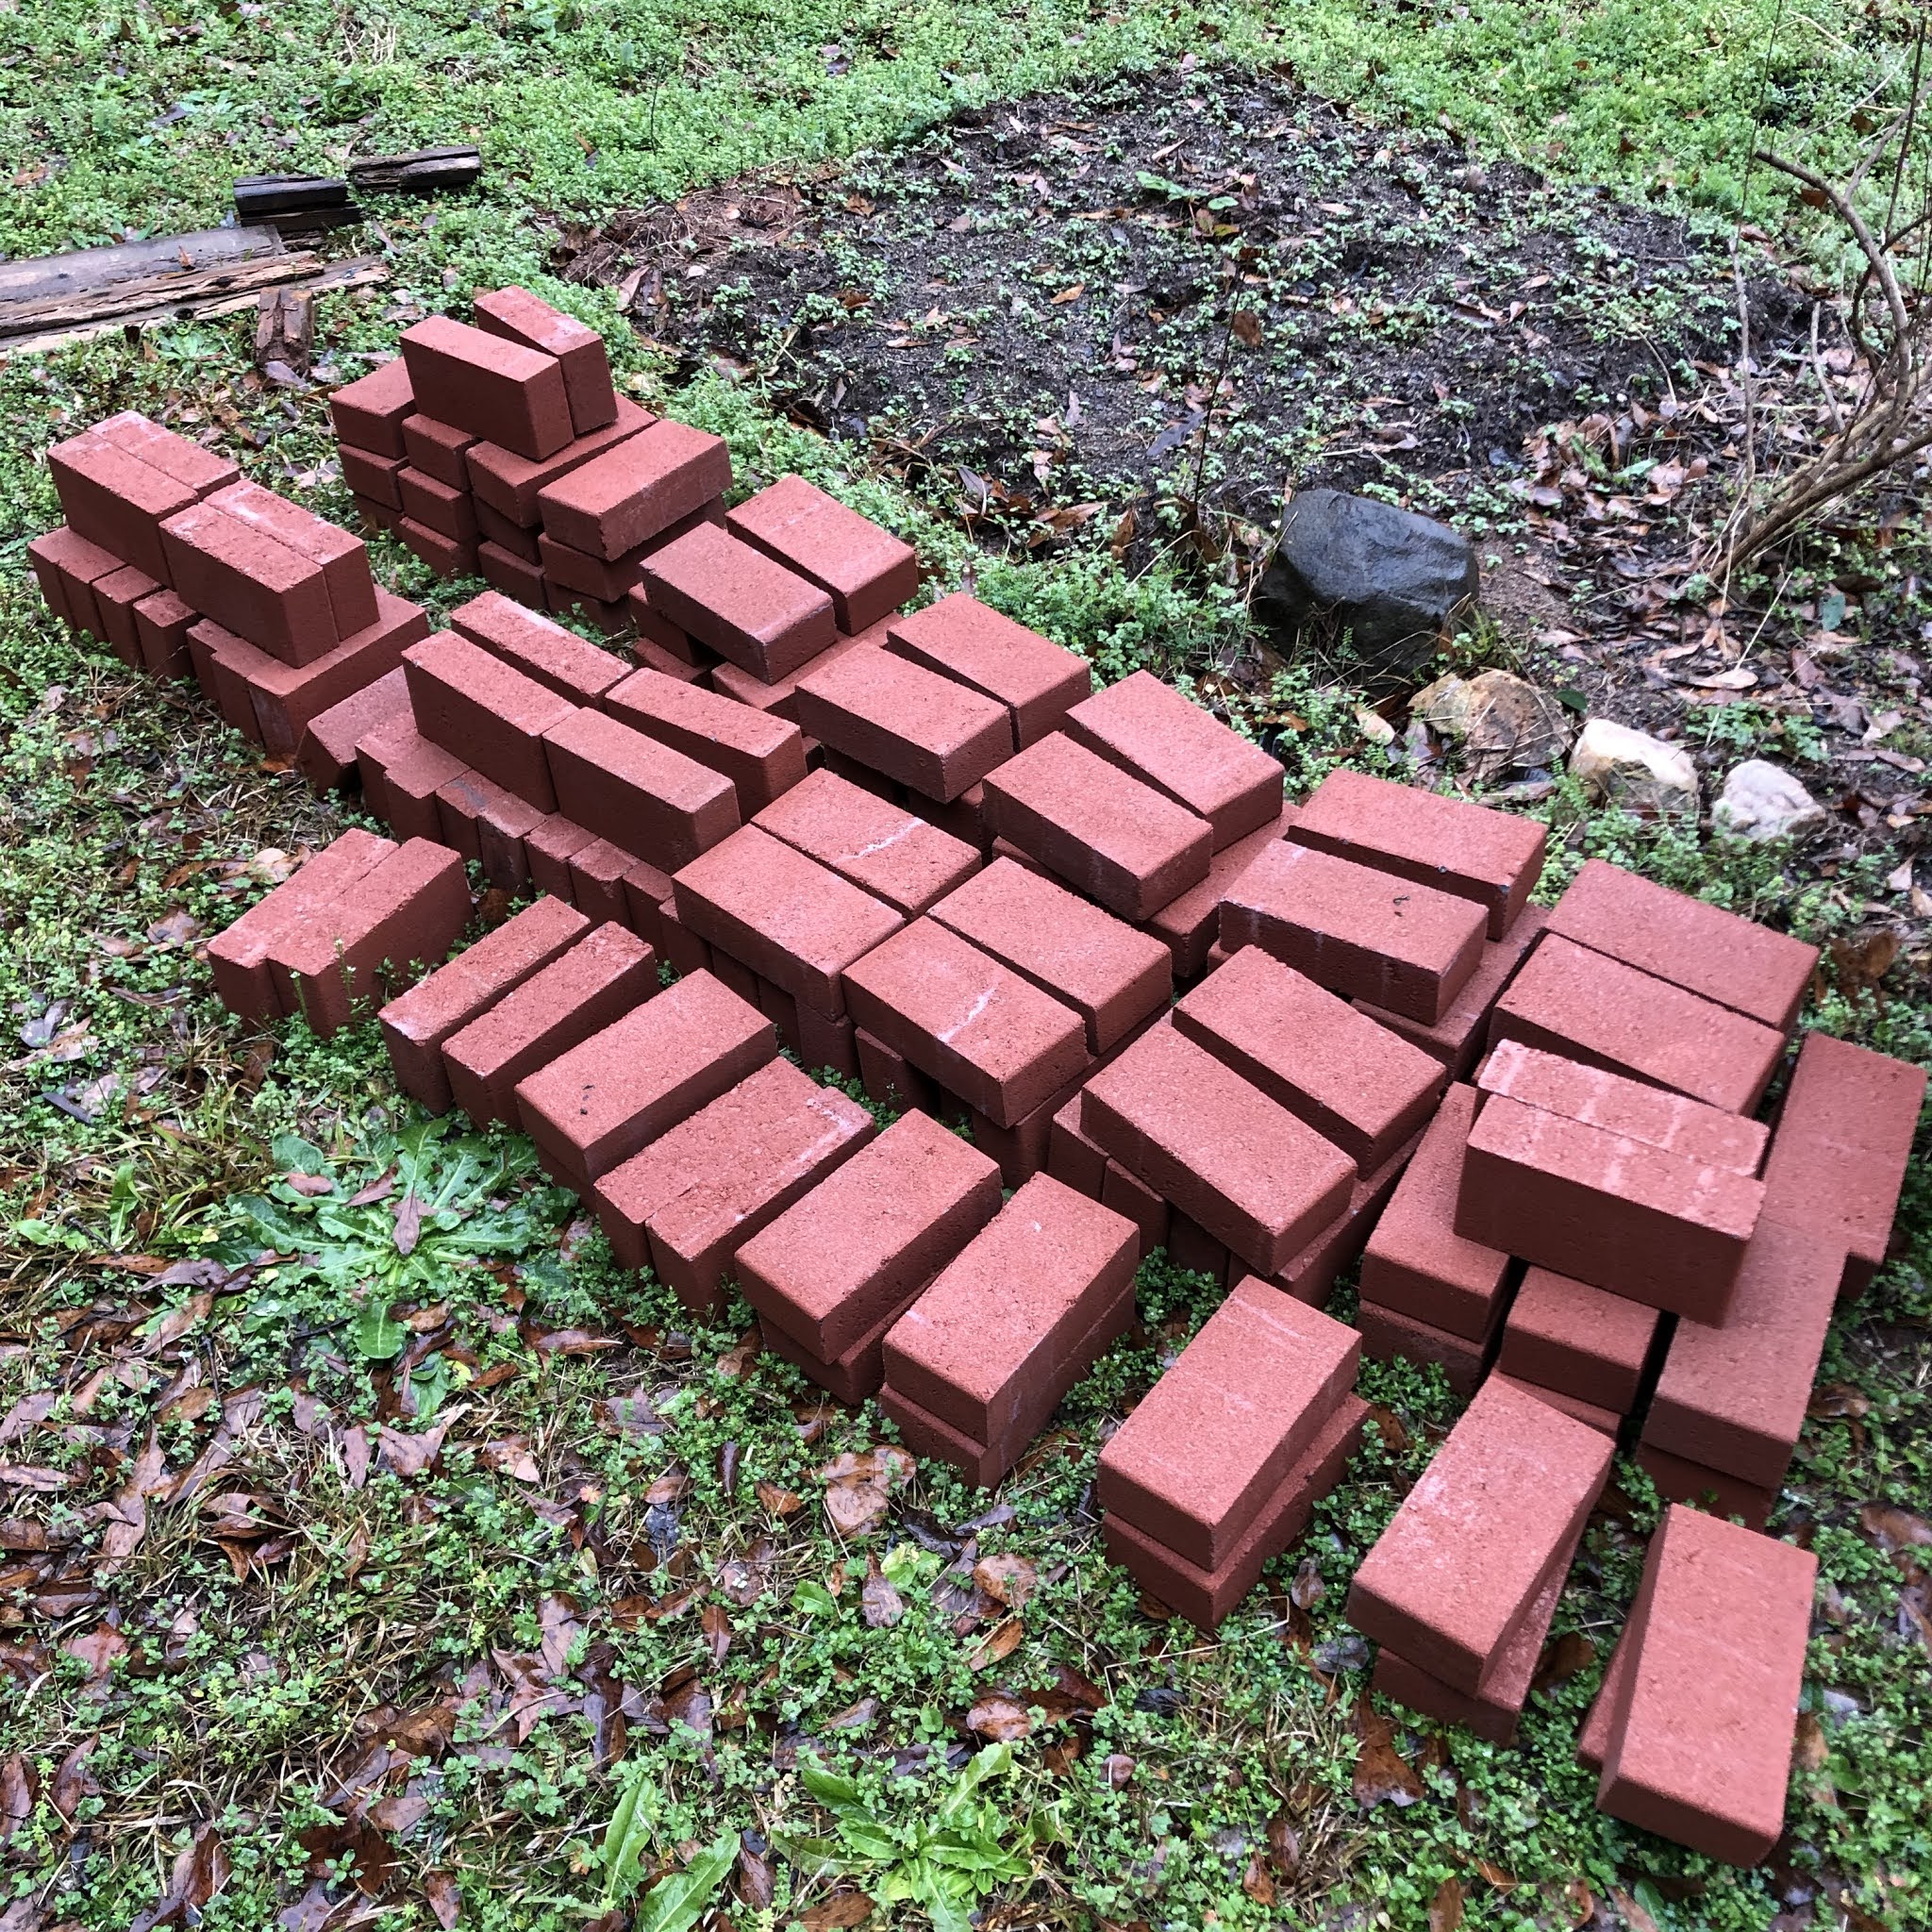
My husband and I are not huge DIYers. After a little research on Pinterest, I decided a loose brick bed was a good compromise. Even if my husband wanted to learn how to lay mortar, loose brick was less permanent and easier to throw together without any experience. If I didn't love how it came out, we could always take it apart.
Also, what I got from Home Depot wasn't actually brick. Technically it's just cement blocks dyed a reddish color. It's what was easily available to experiment. If I decide we have a future as bricklayers, I can always hunt down real brick later and redo the beds.
As if building with brick for the first time wasn't hard enough, I decided to make it more complicated by trying to line my new brick bed with an underground fence to keep voles out. I really didn't want voles killing most of the plants in my new raised bed like they did last year. The internet says voles won't dig deeper than a foot, so I got hardware cloth and cut it to the appropriate width.
If you want to build a loose brick raised bed, there are definitely easier ways to do it than how I did it! Needless to say, even with consistently nice weather, it took a few weekends to complete. First we had to build a trench at least a foot deep around the existing bed. Since I had gone through the trouble of filling my bed with the perfect mix of sand, compost and top soil originally, I wanted to keep that intact as much as possible.


Then, I had to try to snip pieces of hardware cloth with wire cutters into sides for my "fence," and attempt to flatten out wire that had lived its life rolled up in a circle. After flattening it more or less, I used the wire that wrapped up the roll originally, cut it into small pieces, and used the pieces to attach the sides securely together. That also took a while...

I tried to make calculations and take measurements and dig in the right spots, but let's just say that in the end I did not get a perfect square fence to go inside my brick walls. We made it fit, though.

I actually made my hardware cloth 15" in height, tried to get it evenly 12" deep all around, and then left a few inches above the trench that would go inside the brick walls of my new raised bed. I wanted to leave a little overlap so little voles couldn't, say, burrow between the hardware cloth and the brick. I didn't want it so high, though, that the hardware cloth would stick up and scratch me every time I pulled weeds.
After it was satisfactorily in place, we filled the trench in most of the way, while still leaving a trench 3" deep all around. Now it was time to actually start on creating a brick raised bed. We filled the shallow trench with builder's sand (it took about 3 50 lb bags). Then, I put the leftover rotted boards of the old border to use. I laid one down on top of the sand. I laid a level on the board to make sure my sand was more or less level (especially since we're building on a slight hill) and adjusted by hand as needed. Then, I used a small mallet to compact it down. I don't know if my system was perfect, but it was cheap.

Finally, we started laying the bricks out on the sand. This is where we learned our square wasn't perfect. On two sides the bricks had to be placed tightly against each other, and on the other two the bricks had to be spaced slightly, one more than the other. That was the only way the bricks would fit around the hardware cloth. This annoyed me at first, but in the end I decided it was probably close enough. At least we're not building a house here.
After putting down the first layer, I went around again with the board and the mallet, tamping the bricks into the sand. Finally, I stacked the rest of the bricks, staggering them as I went. This was the easiest part of the whole thing.

I did not pull the level back out after that, it would just make me crazy. I actually sat on my little brick wall to finish pulling the rest of the weeds out of my bed. The bricks shift a little, but it holds, which isn't bad for a cheap, easy project. I just have to fix the bricks periodically. If I had young children, I wouldn't want to leave the bricks loose, they would just get knocked around all the time. If I still like it next year, I might try taking it apart and putting it back together with construction adhesive like my friend suggested.

I also planted potatoes this weekend! They were such a success last year, I couldn't wait to plant them again this year. I cut up some pieces last weekend with the intent to plant them in the grow bag and ran out of time. I hope they're not too worse off by sitting out for a week. Half of them went in the grow bag. The other half I ended up planting in my newly vole-proofed raised bed. I added a bag of composted manure to my bed after I finished the wall and mixed it in. It was just the right depth to start the potatoes. As the potatoes sprout and grow, I'll finish filling the bed with more compost and soil mix.
It definitely looks like spring these days. (Yesterday was the first official day of spring, after all!) The seeds I planted indoors last month are looking really good. Well, except for the basil--I need to try again now that it's warmer. The spring flowers are emerging in my garden, too.

 |
| I planted this phlox several years ago so it would bloom pink during cherry blossom season. |
 |
| My blueberries are getting pollinated! |
 |
| Our cherry blossom tree bloomed right on time this year. |


